2013-03-26 Day 30 & Critical Path Crunch

I know it has been a while since my last post but that should be not be taken as an indication of tasks not being completed! The big speed bump on the “critical path” to getting Magnolia underway for Memorial Day Weekend (our short term goal) is getting the cabin top hatches back from overhaul and re-installed. Obviously we can’t remove the shrink wrap until the hatches are re-installed. In addition we can not finish sanding the the port side toe rail until the shrink wrap has been removed. That leads to not being able to varnish the port side toe rail until it has been sanded. If you can not varnish the cap rail you certainly cannot install the life line stanchions on top of the toe rail. If the lifeline stanchions cannot be installed, you cannot measure for the new lifelines. If you cannot measure for the new lifelines, cannot order new ones from the fabricator. Until you order new ones, wait for fabrication and then install them, we you cannot go sailing (safely) on Memorial Day weekend…  See how those hatches are holding everything up?

2013_03_02_12_49_38_AWB-002

Admiral over seeing hatch removal

In the mean time we have taking care of all those onesy and twosys tasks. Annette has completed making all new curtains, duvet for the bunk and a plethora of very cool throw pillows. George (ZZ Top’s twin) has finished the cockpit enclosure and called last evening to let Annette know the Settee Cushion recovering is complete. (If you need a canvas guy, George is GREAT!) Bayshore Marine has finished the engine and generator maintenance and Shiver Me Timbers should finish the refrigeration this week. I still have some glue, varnish and shelf installation in the aft cabin but there is time for that!

Bottom line, things are coming along as best as we could hope for! As soon as we can get the hatches off the Critical Path, we will have much better control of our destiny!!


2012-03-09 Yup, and wood too!

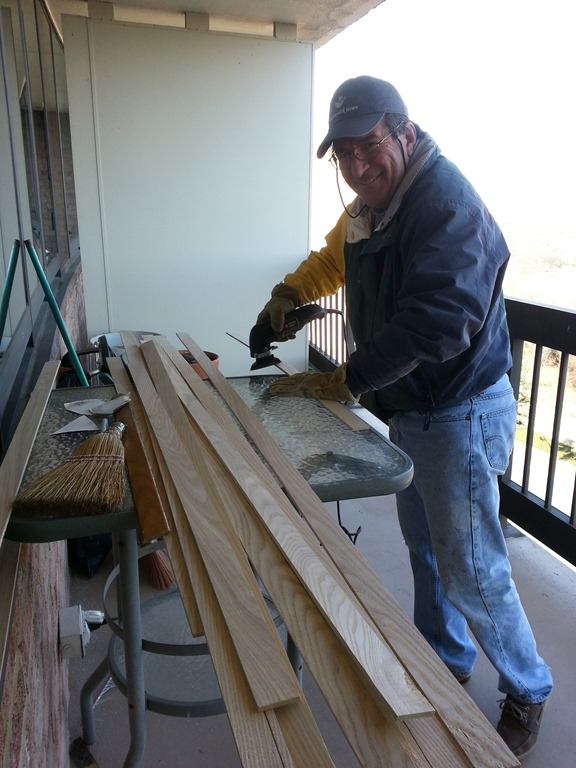
You have to hand it to that “Jack!” “He is like a Jack of all trades and a master on none!” The one thing  he does pretty well is wood and that exactly what I got to do this weekend. Here’s “Jack” taking a little mid job coffee break and enjoying a day on the boat since the temperatures were well into the high 50s, what a treat!

005

I have never been a mechanical person, pretty good understanding of electrical but little practical experience but wood is definitely my medium of choice. I did not think about it till this moment by if you want to get a well rounded skill set get a boat! This winter I have done a little bit of everything!

For some reason, beyond my level of understanding they call the wood strip on the horizontal bulkhead ceiling. As I said above I know a little about a lot of things and even some rocket science but why they call stuff on the wall ceiling, well that is what we call in the trade, “black magic!”

20130210_131311

Now this is simply pedestrian wood work, not like pulling up a cap-rail like Dani did on S/V Sundowner! The job started with having some Ash lumber milled into strips and then using a hand sander I rounded off the edges to similar style as the existing ceiling.

007

I don’t have an adjustable miter box so after making a template and giving thanks the after bulk head was a consistent angle (about 56degrees) it was a pretty straightforward job to cut and fit

008

The boards are just dry fit right now, have to wait a couple more weeks until temperatures are a little more consistent before I can glue and finish them.

2013-03-06 Hatch Mania–A Race Against The Calendar

All of our hatches have crazing in the lens and the though only one had a real leak this is likely the last winter under shrink wrap for a while so if hatches are to be pulled and rebuilt this was the year and the best time to do it. The trick is to get all the hatches removed, repaired and re-installed before the shrink wrap comes off! Being a complete “newb” I started small and worked my way up.

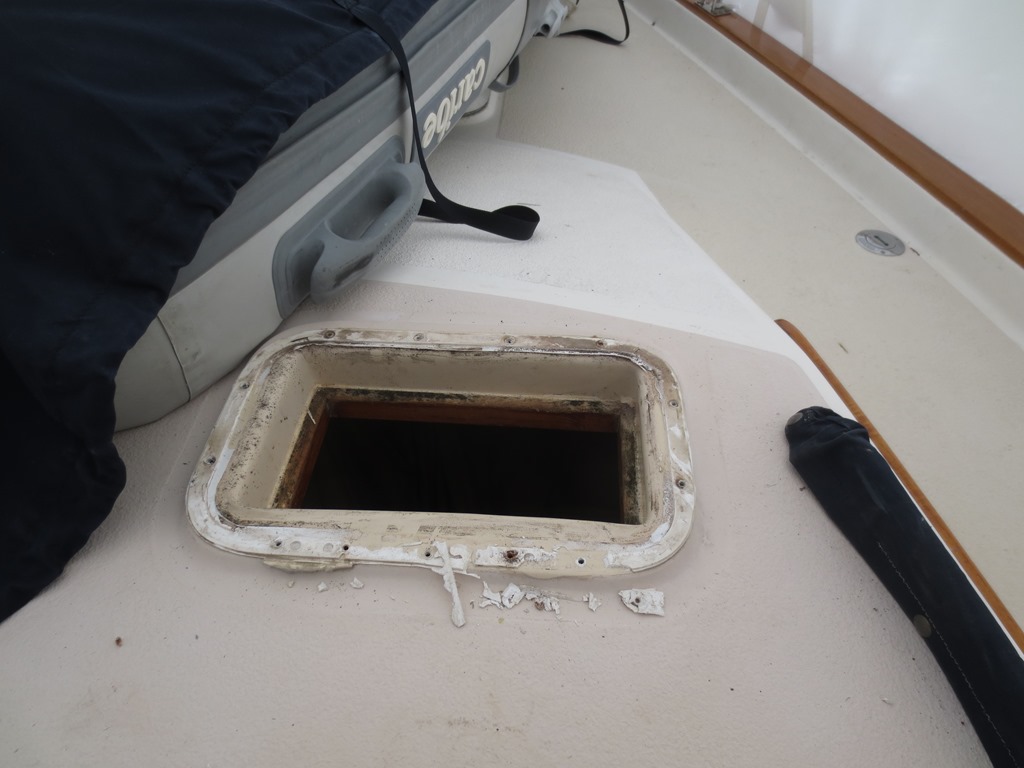
I removed all the screws and then used a flexible paint scraper to slide between frame and cabin top. I was able to slowly work my way around the caulk gasket. The further I worked around the hatch the quicker it went.

2013_03_03_12_34_54_AWB-009

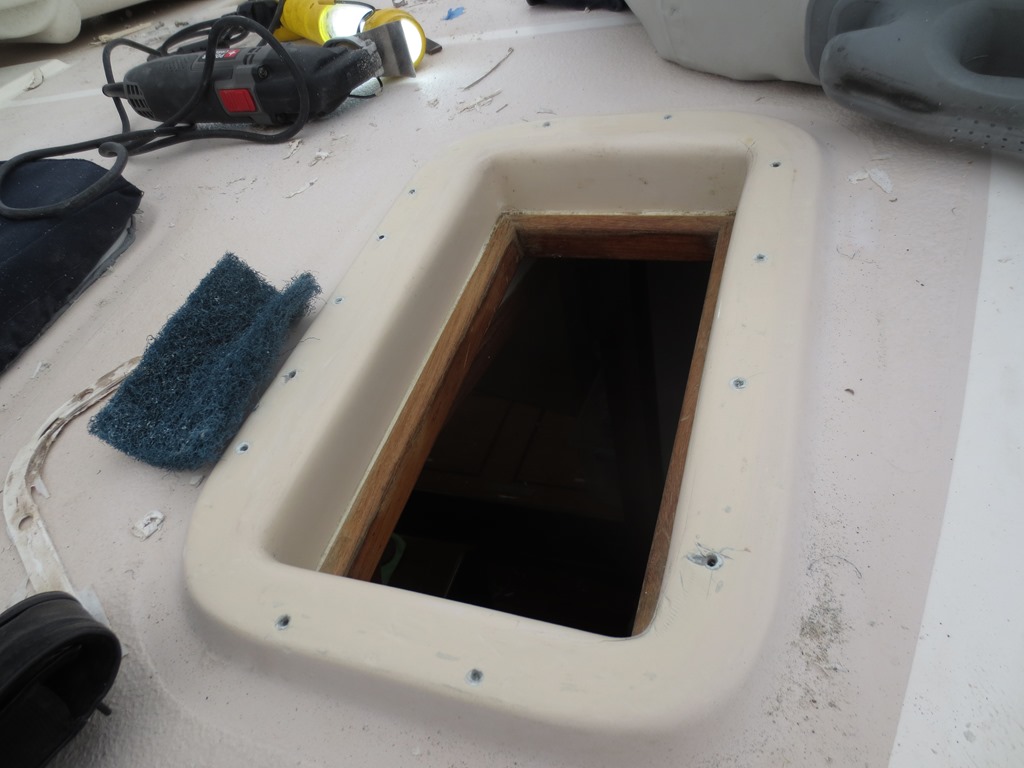
I then used my Porter-Cable Multi-Tool (thank you SO MUCH Jack Tennar!) with scraper blade attached to removed most of the old caulk. Using a industrial grade green scratchy pad from Home Depot I had the mounting frame cleaned up in no time.

2013_03_03_12_53_10_AWB-010

Unfortunately I do not have any pictures of cleaning the actual hatch frames but I used a narrow paint scraper to get off the big chunks and the a Wirebrush on my drill that cleaned the frame ups really nice.

Am currently running the hatches through Select Plastics in batches of 2-3. I ship them and they are returned with a new lens installed along with all new gaskets as well. We are using Butyl Tape rather than LifeCaulk. The cost is more but the ease of use is amazing. It is probably just me but if I get neat LifeCaulk the stuff ends up EVERYWHERE! I am just hoping in the end Butyl Tape is everything it is claimed to be!

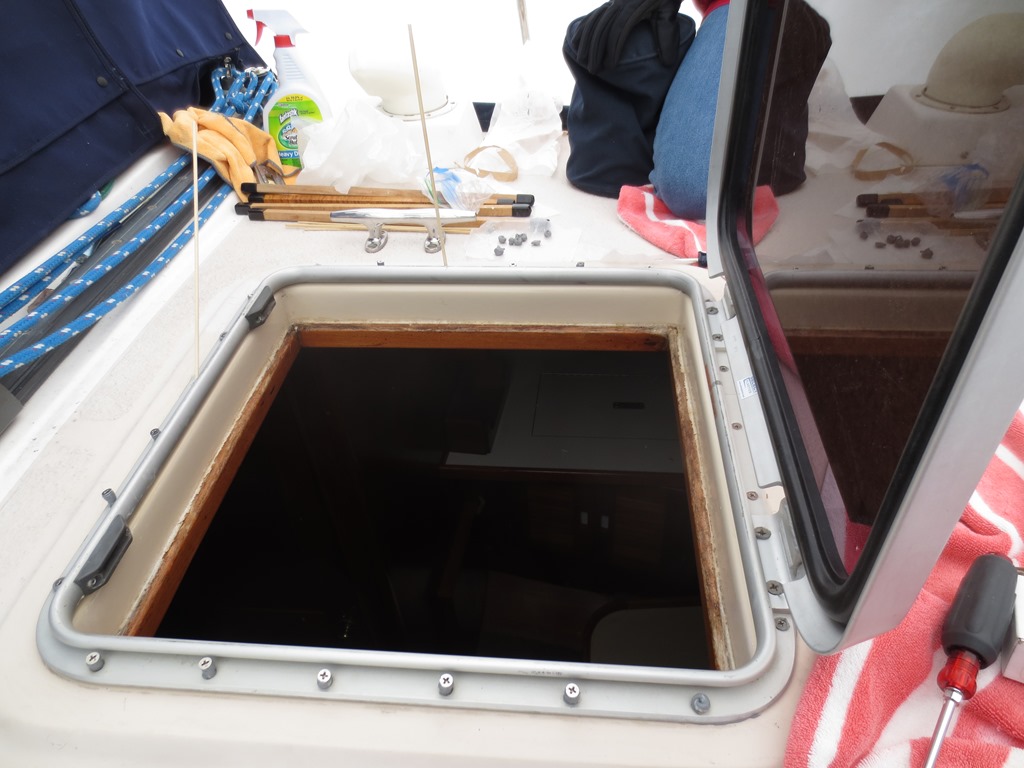
We used 3 layers of tape around the base and wrapped a small amount around the screws just below the head of the screw. I found that it was best to drive a hole through the tape prior to placing the screw and allowing the screw to make the hole. Using the screw to puncture the tape deformed the tape more than I liked.

2013_03_02_13_19_50_AWB-003

Now we just have to wait for the shrink wrap to come off and that first rain storm for the leak test! Wish us luck!