2012-12-30 — Black-Water Jack Does Windows Too!

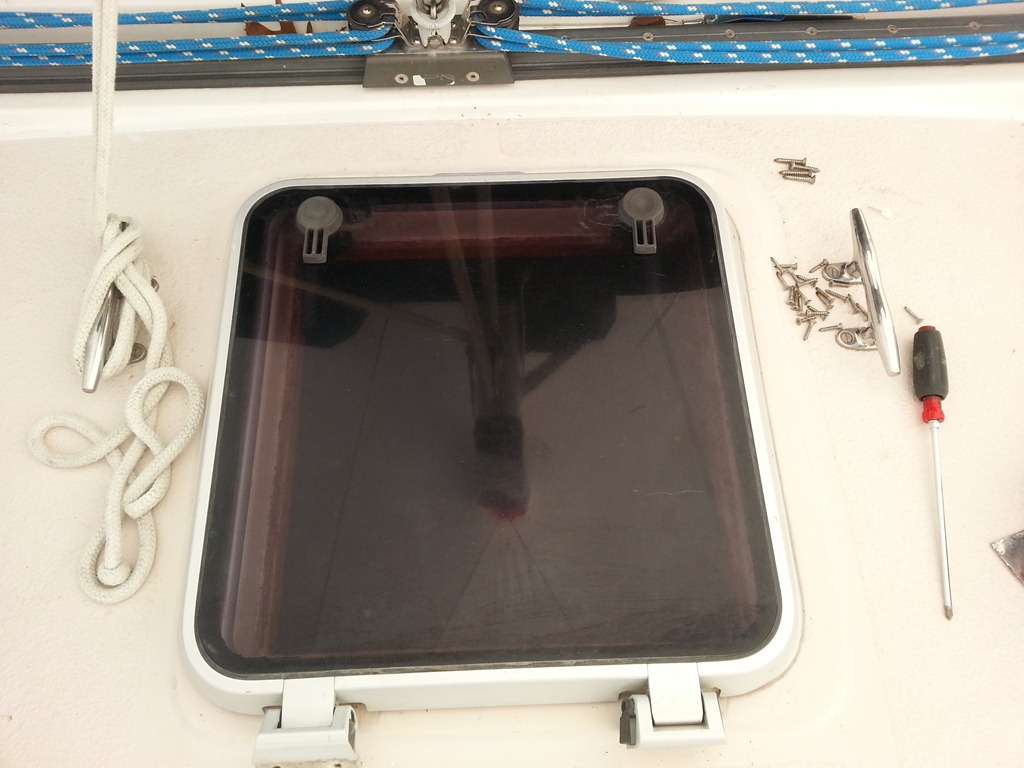
We had to order sanitation hose so that left today open to take on another project that has been waiting in the wings. Hatch restoration. Sailboats are notoriously dark so as much light as you can get “down-below” is all the better. The “windows” in the hatches are made out of plastic and after some years they become crazed and look unsightly. In addition the gaskets wear out eventually as well. We have old Lewmar Rollstop Hatches which they only made for 4 years so that should tell you something! They are what we have and because of their unique sizes it is not economical to replace them. That said the best we can do is have them rebuilt by the experts at Select Plastics. 

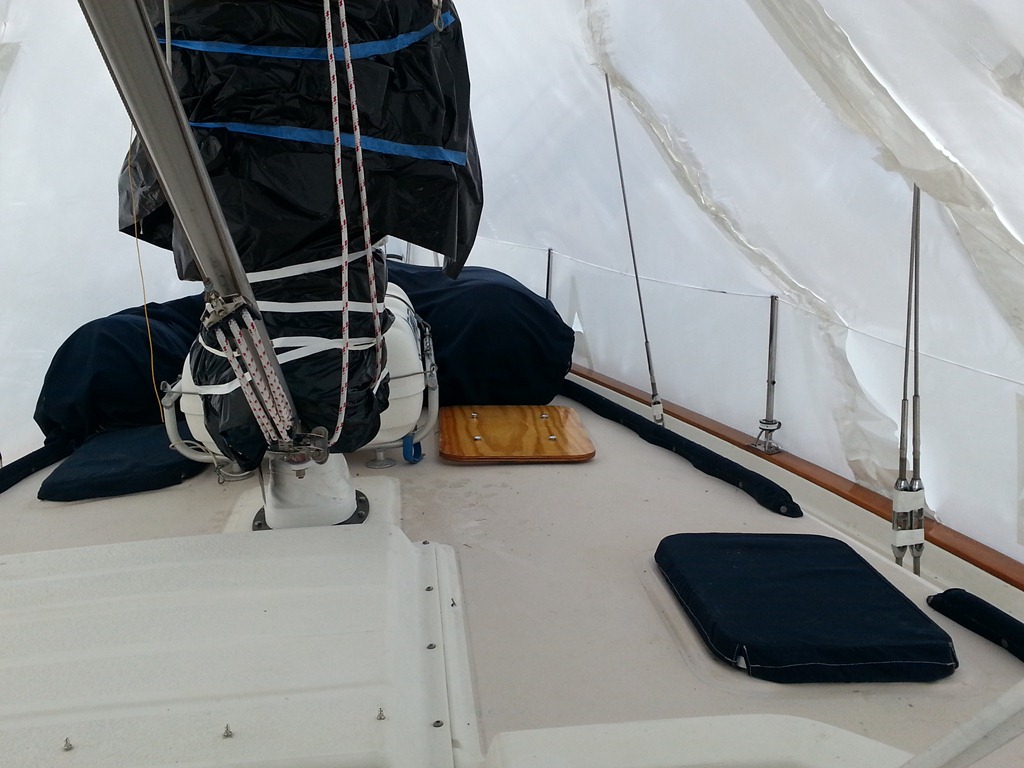
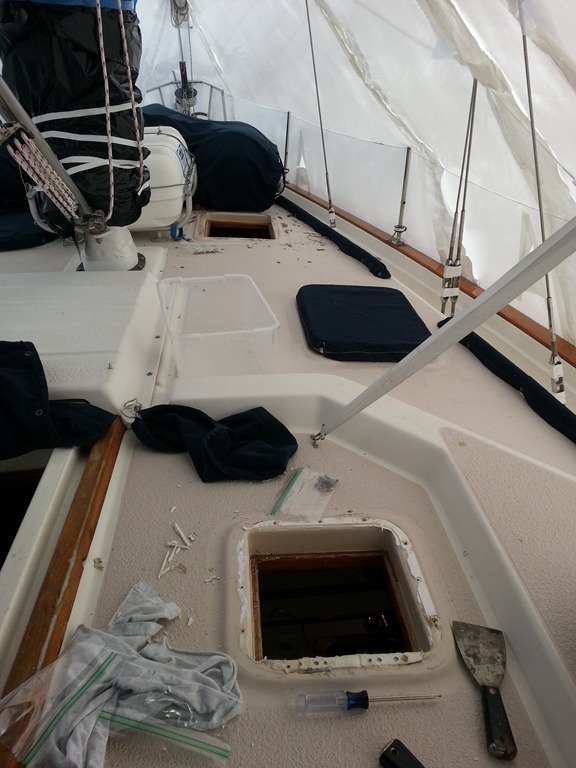
All things considered this is the perfect time to have the work down in that the boat deck is completely covered by the shrink wrap. On a sunny day like today it makes it completely comfortable to work on deck even when like today the temperatures were in the mid 30s and wind was gusting in the 30-35 knt range! The whole time I was working in shirt sleeves!!

20121230_105324

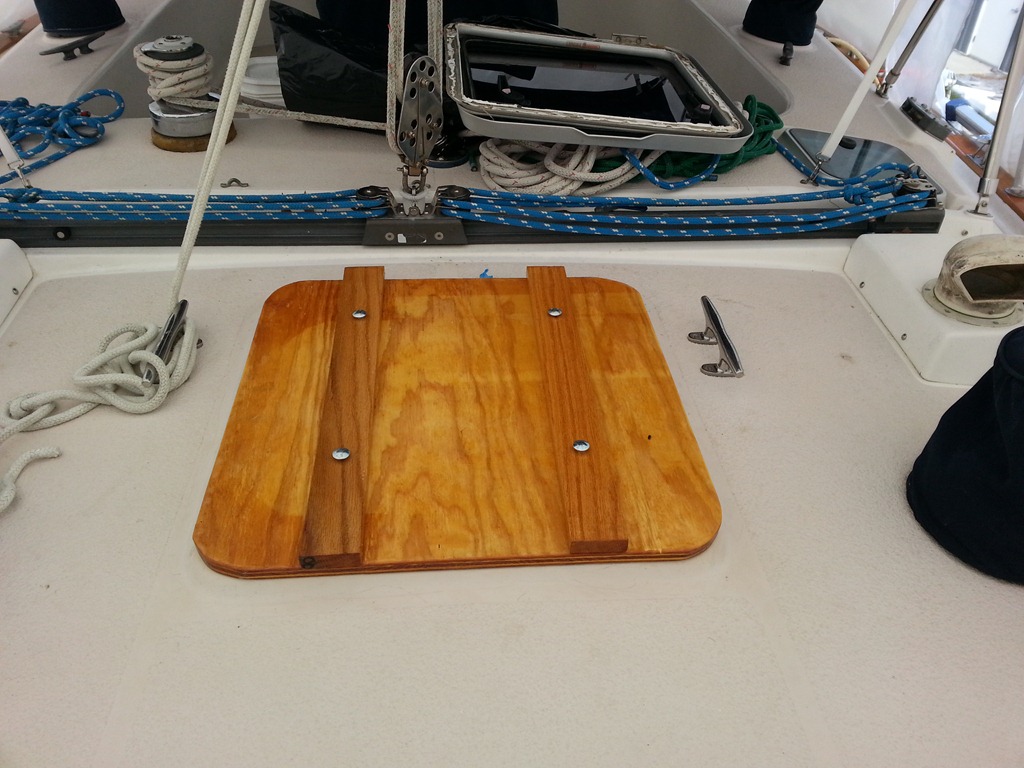
I previously made an emergency hatch cover for each of two sizes of hatches. (2 & 4) In case of heavy weather and a hatch failure we would be able to prevent a huge amount of water from entering the boat. In addition I made them with carriage bolts only being exposed do they would provide some level of security if I needed to use them in non-emergency situations such as this. I should have take a picture from below but there are basically oak cross members cross the hatch frame below with wing nuts holding the carriage bolts.

20121230_125333

20121230_105509

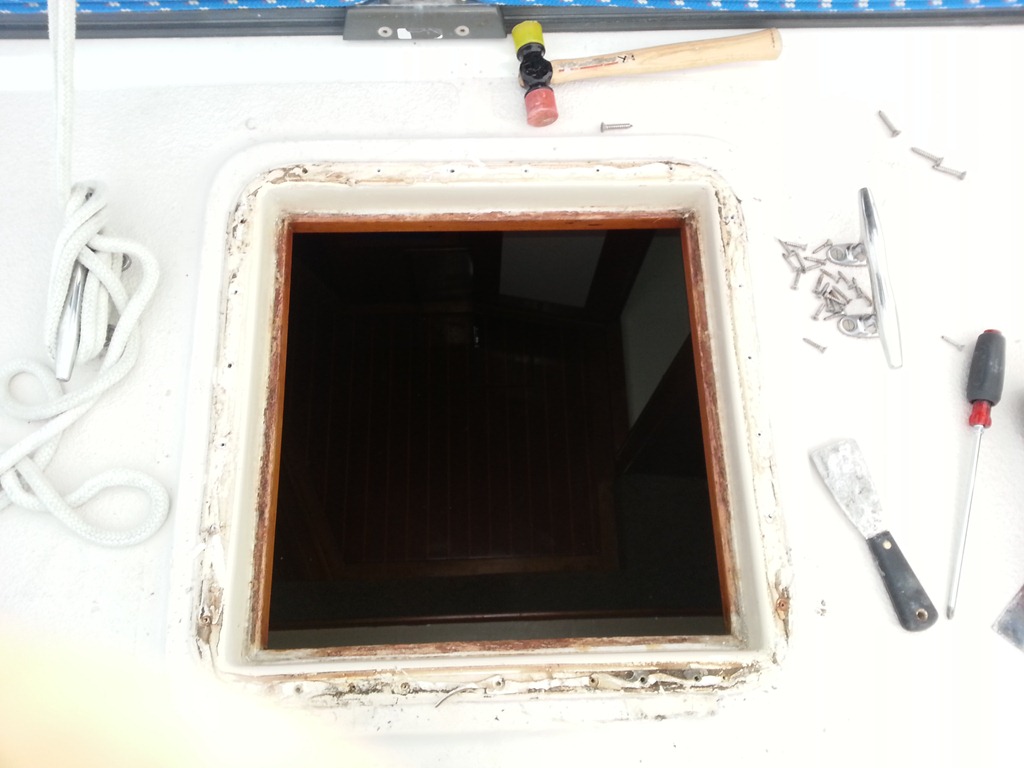
After taking the all screws surrounding the frame of the hatch it was a relatively simple matter to separate the frame from the deck suing a Plastic/Rubber tipped hammer and paint scraper with a sharpened edge. BTW – If you do not have one of these hammers, go get one now. My buddy Greg Rodgers turned me on to this one and it is no much better than a standard hammer on a boat. This hammer has saved me from inflicting real damage on Magnolia so many times!!!

20121230_110204

Here is the aft hatch removed and all battened down with the emergency hatch cover. I will have to add a picture of below but the underside has cross members just like the top which makes for a very solid installation. (1/2 inch plywood and oak cross members all with a coat of 2 part epoxy)

20121230_125847

2012-12-29 — The Tale Of Black-Water Jack (Part I)

I keep hearing you are never quite become “one with your boat” until until you wade (figuratively speaking) into your Black-Water System.

Most boats have a potable water (drinking), grey waste water (sink drains) and of course black-water. You can guess source of the later I am sure! The laws for sewage disposal are pretty straight forward. When inland/shore water disposal is in a tank and when you get into port you use a big vacuum device to empty said tank. When you are in the ocean though (3 miles or more off shore) you discharge directly to the ocean or you can empty your tank into the ocean.  The later part of the statement is where we meet Magnolia. She has a tank of course and the ability be vacuumed at the dock but was not equipped to empty her tank at sea. This becomes a particularly important capability in the Bahamas since they don’t have pump facilities. (I understand “some” marinas are being equipped.) The only way to dispose of black-water there is off shore in the ocean. This calls for Magnolia’s current system to modified with the addition of 2 valves and a pump to empty the tank. This project will add a “Overboard Selector Valve” and a “Tank Discharge Selector Valve” along with the “Pump” which will be a Whale brand Manual Sanitation Pump designed exactly for this purpose.

Capture

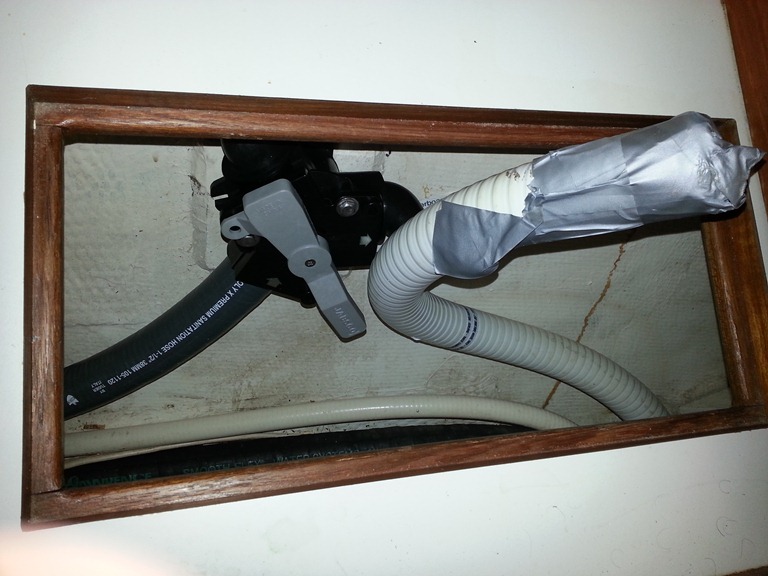
First is to remove the 1 1/2”  “Tank” and “Overboard” hoses from existing valve.

2012_12_16_19_21_27_AWB-046

Select the location for the “Overboard” selector valve.

2012_12_16_19_21_10_AWB-047

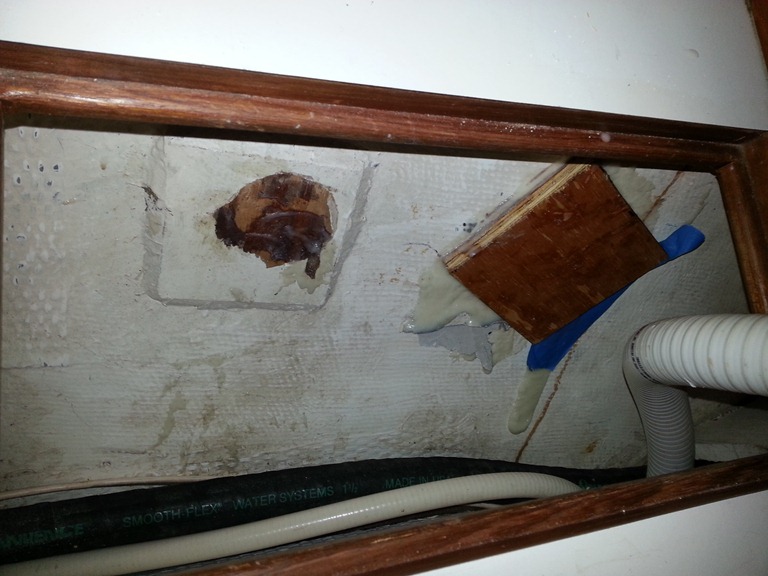
I used West System two part epoxy to attach mounting block to the hull interior. The manual described the consistency to be like peanut butter. Obviously my first batch was a little on the runny side of peanut butter.  I got it right the second time though!

2012_12_16_18_29_03_AWB-062

After a little clean up, a count of primer and coat of paint nearly ready to go here. Well except for a last minute decision to replace the hose connected to the deck fitting, so one more to pull out then we really are ready to go.

20121229_095641

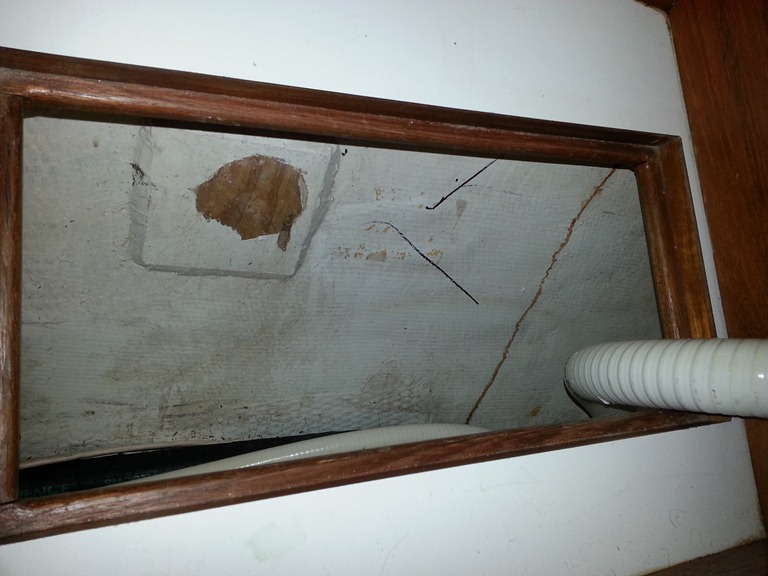
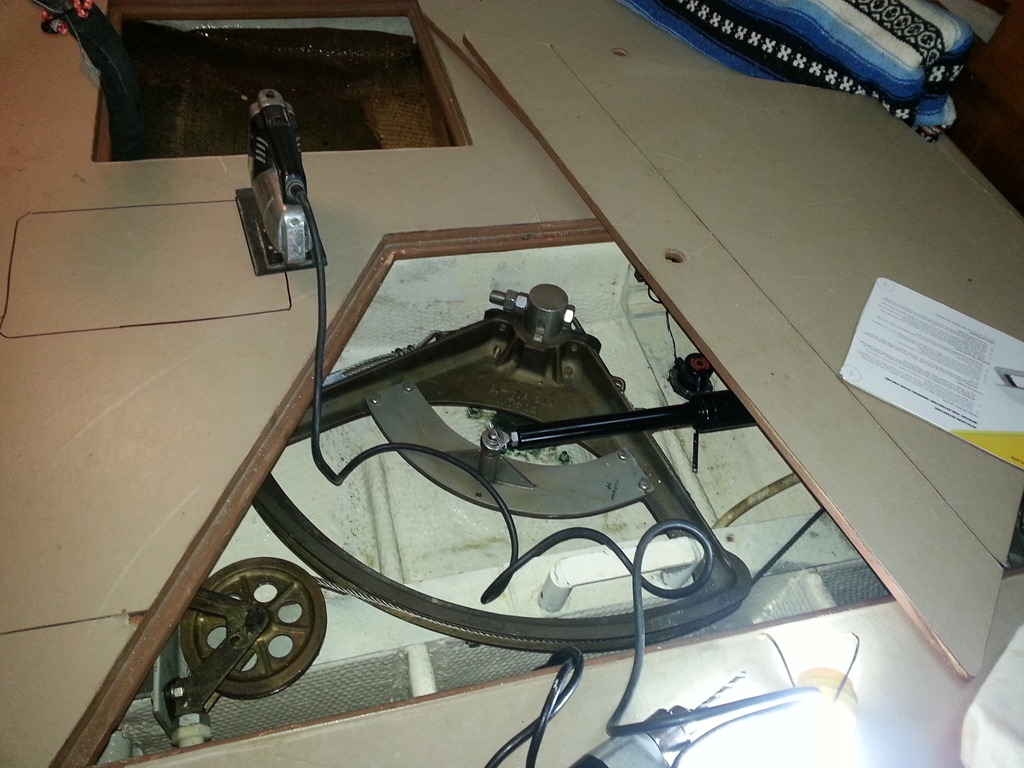
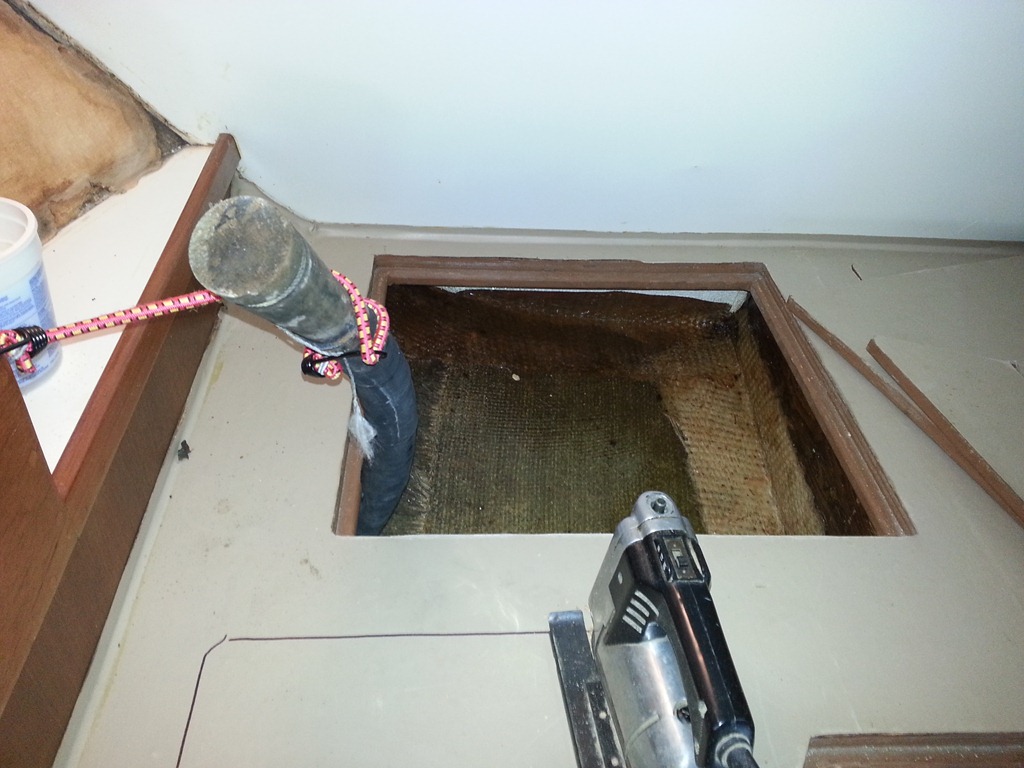
The pump and “tank discharge selector valve” will be mounted on the stringer just aft of the rudder post so we will need to add an access hatch there. (Note: I don’t recall if Grandpa Emerson or Dad gave me that jig-saw but I suspect its as old as I am and twice tough!)

2012_12_16_18_29_13_AWB-064

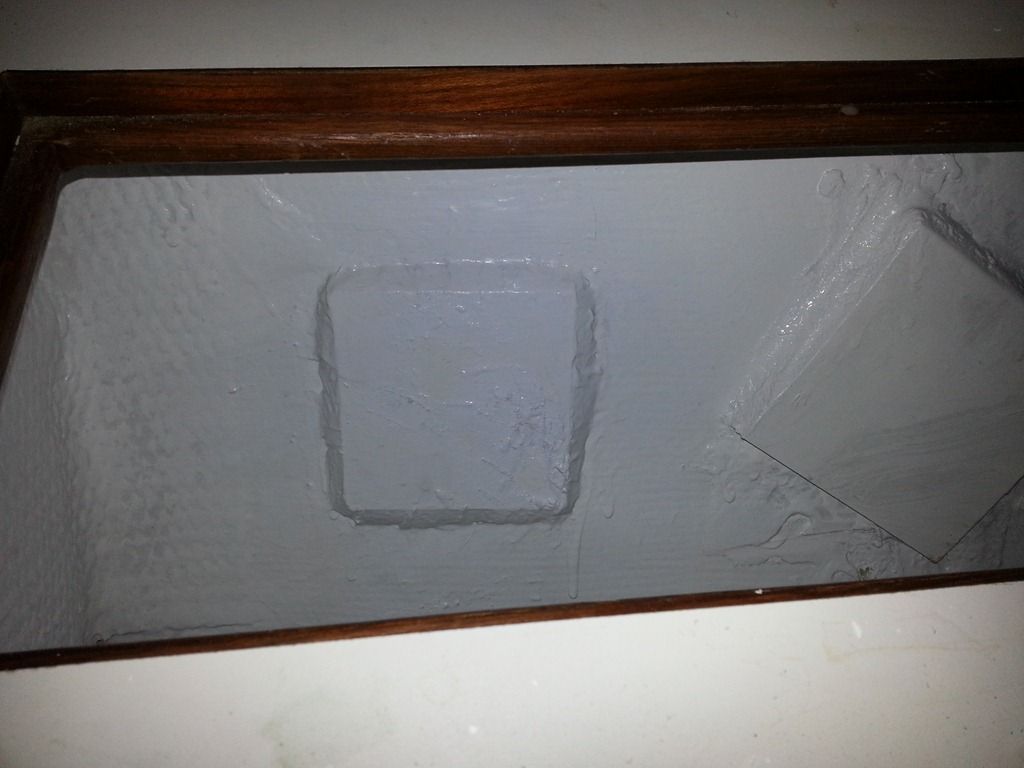
I also took the opportunity to give the tank/bladder locker a coat of 2-part epoxy to make sure things were really sealed up in case of leaks!

2012_12_16_18_29_08_AWB-063

With all the old hoses removed and compartments freshly painted next we will start putting it all back together next weekend!

2012-12-05 Davits – Stanchions – Lifelines & Blog Changes

Please let me interrupt the planned article for a quick PSA (Public Service Announcement). We have relocated the Magnolia and Seamless Sailor Blogs so you might notice a some small changes. In addition Magnolia now has her own Facebook Page (of course she would Smile) which you can subscribe to. That concludes the PSA, thank you for your attention!

This project started out as a simple Lifeline replacement and toss in re-bedding a couple of stanchions and davit mounts. No big deal right? Yes and then enters “Scope Creep” (Hear the organ music from Phantom of the Opera?) “Scope Creep, what the heck is that?” Scope Creep occurs when a project gets bigger than its initial plan. In the case of this project it was found that each stanchion was mounted differently. Some had threaded backing plates, some had no backing plates and some were not even through bolted!

In the case of the davit mounts the through bolts had some little wimpy washers that were deforming from the load. Before you get on me about the stainless next to aluminum ignore that. I am taking on some risk of bi-metallic corrosion but I am aware and will monitor. Since this is a DIY (Do It Yourself) project I opted to get some aluminum stock from Home Depot of various widths so I could use the widest possible for each individual instance. Believe when I say these pictures were the easiest thing to do with these plates. These things were a bear to get to even after a couple of small interior modifications! At least now they can be observed unlike they had been for the first 2o years of boat life and much better maintained in the future. My buddy Greg taught me, “if you take something apart on a boat, make sure you can take it apart a second time cause at some point you are going to have too!” With the davits more secure it was time to move on to the stanchions.

001 003

The original plan was to remove the Port Gate Fwd Stanchion and Port Stanchion #3 and simply epoxy a crack in the teal cap rail, re-bed the hardware and be done. Unfortunately we were unsatisfied with method used to secure the gate stanchion so we decided we better remove all of them. As the chart below indicates we still have some data to gather but at least we will where stand and where we need to add plates and devise additional access below decks. When we get the stanchions and lifelines re-installed in the spring we will know everything will be installed as securely as possible. Capture