I have had several inquires regarding the interior lighting we are using. I used the same set up on sailboat Magnolia as well so we have learned what does and does not work for us. In addition, our friends on Kindred Spirit have done similar and will include their detail as well.
I “might” be a bit eccentric but there are few things I despise as much as seeing a light bulb. I want my life lit up, I just don’t want to see how! I am a HUGE fan of in-direct lighting and we spent a lot of effort on different solutions on the SV Magnolia before settling on our current solution.
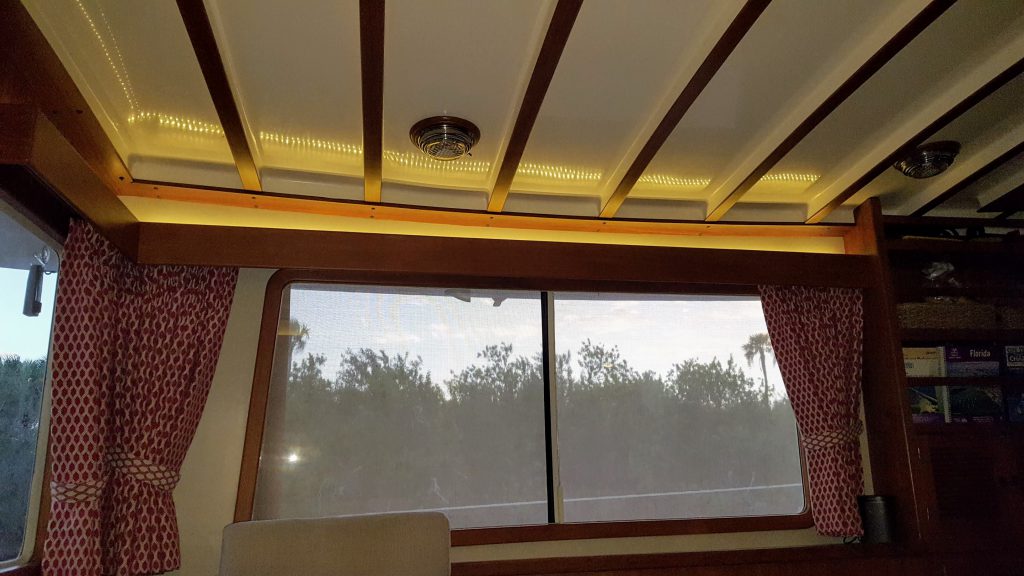
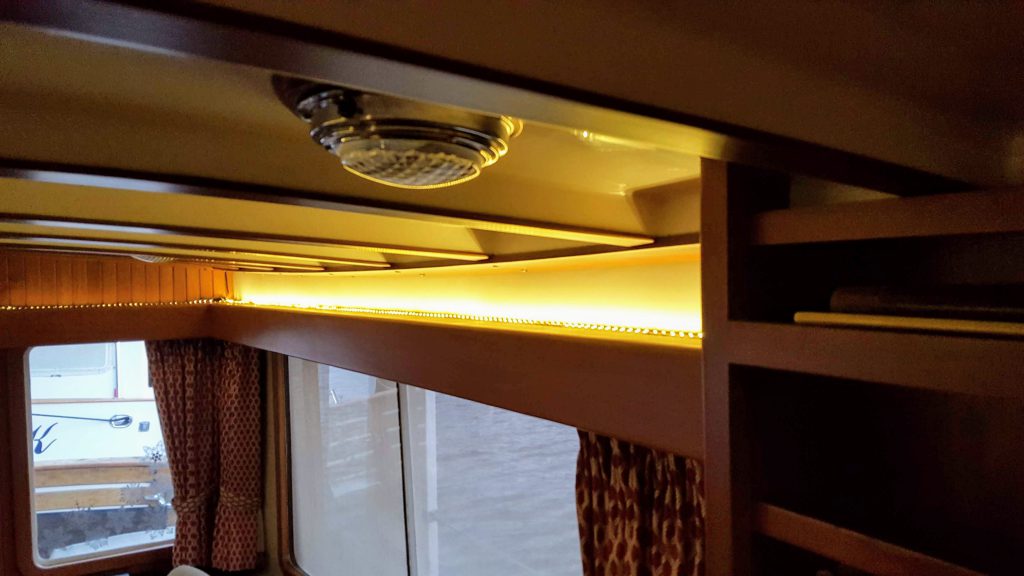
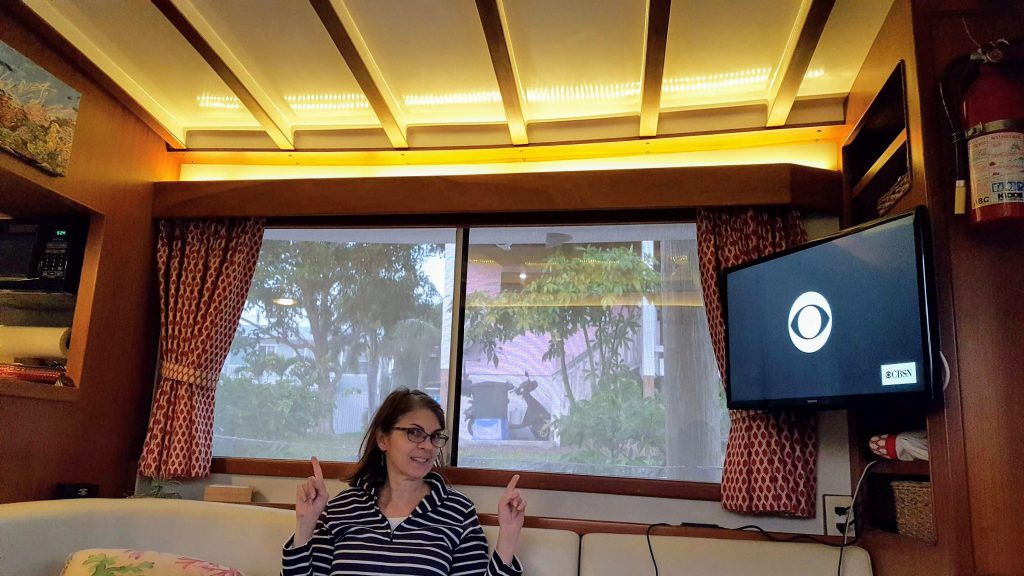
Saloon Lighting Port (Visible)
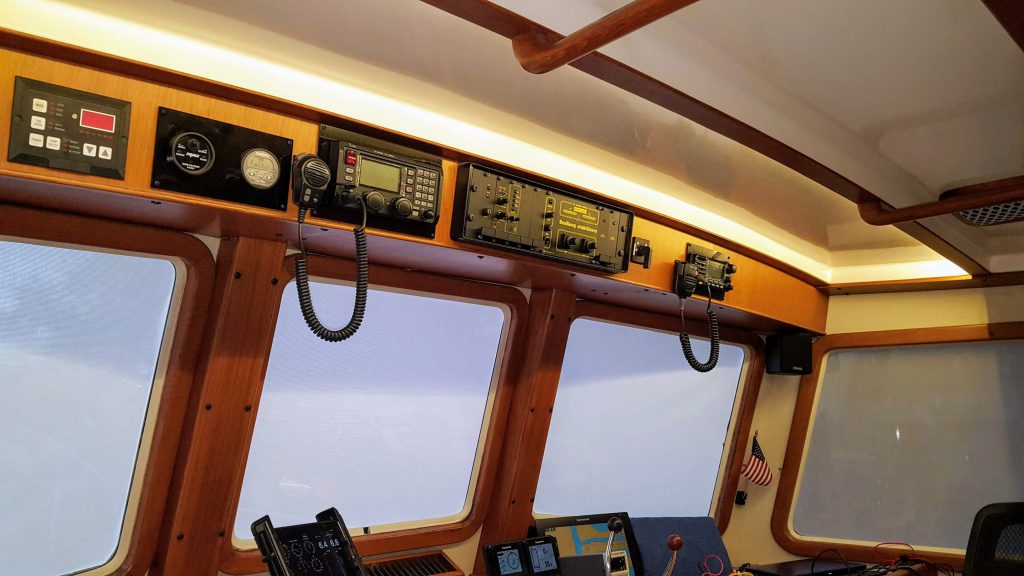
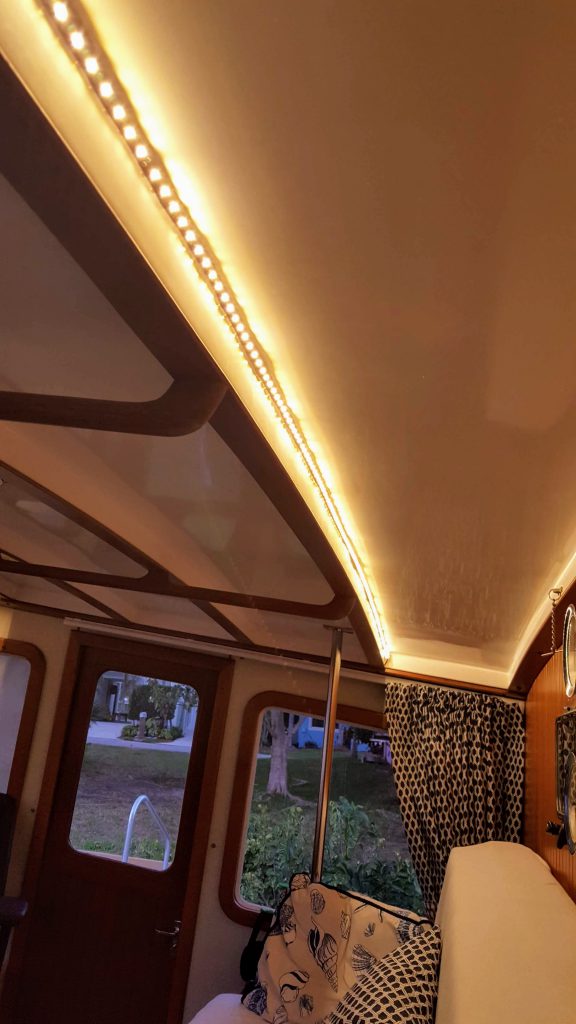
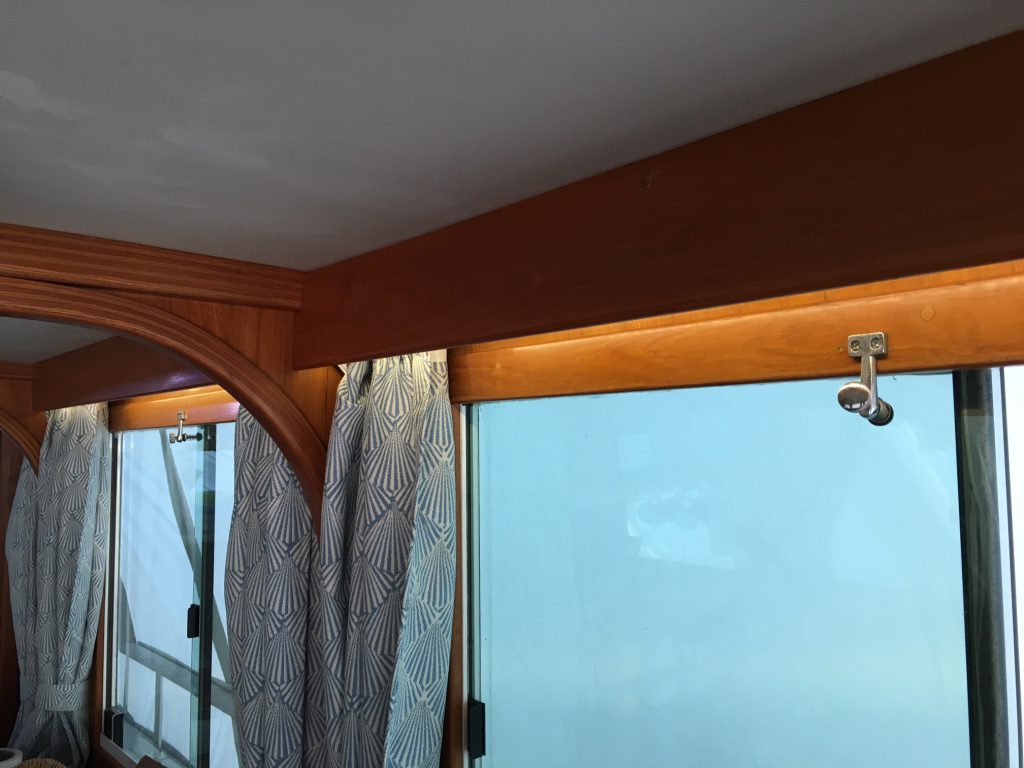
Pilothouse Aft (Visible)
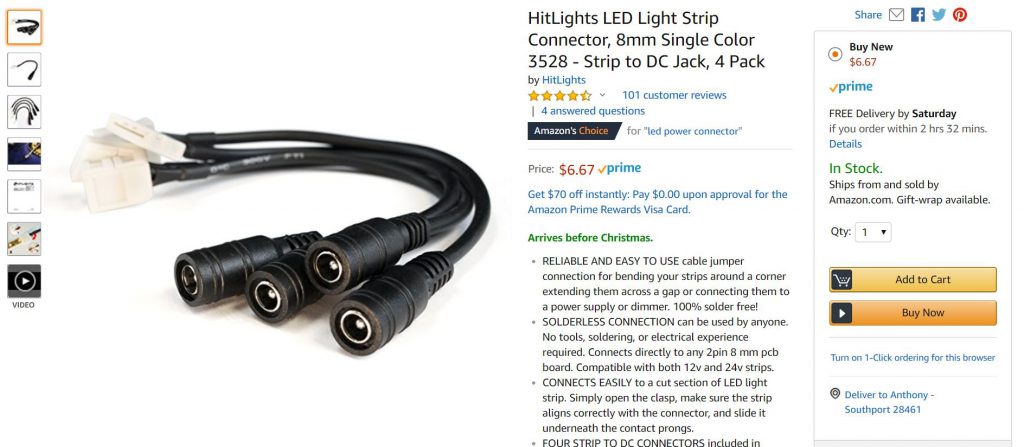
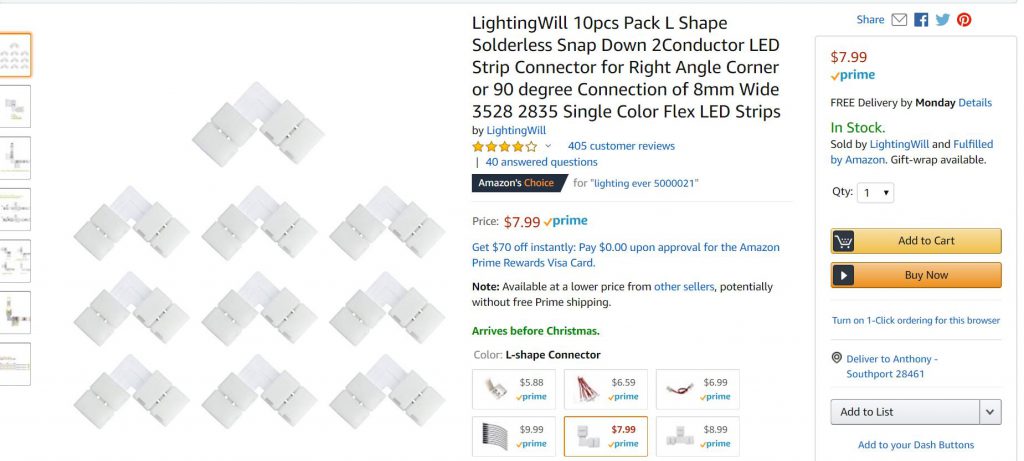
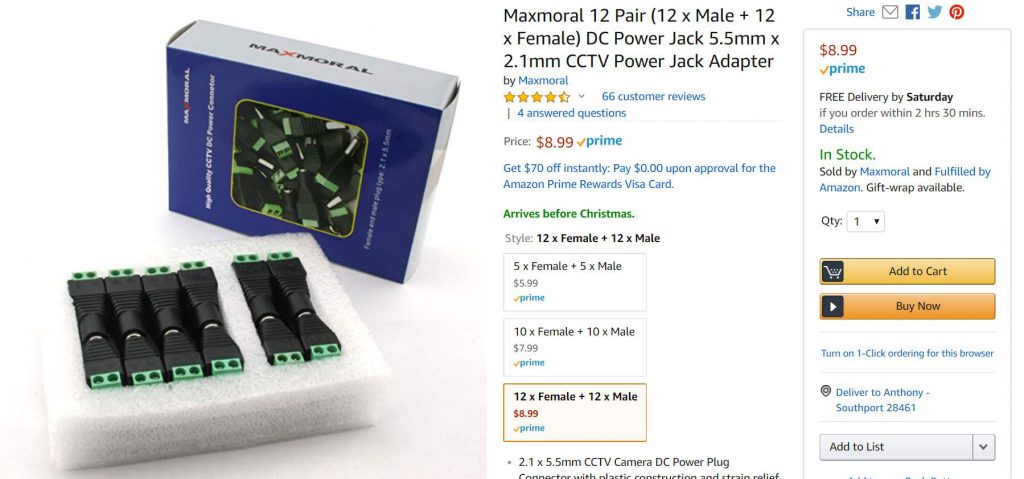
The installation ideas are really endless, limited by your imagination. Below are the items we used in our installation. These are all available from Amazon Prime so parts are easy!
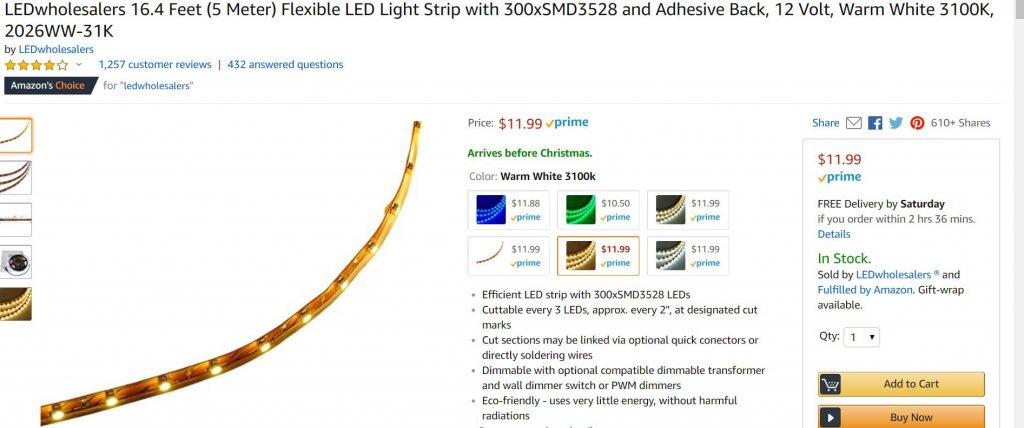

Step-1:Installation is really straight forward. The lights come with a 3M adhesive backing that is pretty good. I have found times though where it has failed and in those cases use Scotch Outdoor doubled sided tape to augment where needed. I chose this tape because I had some on-board already. Just use an inch here and there where required. (Trim width to light width and not even noticed. I do not use this on finished wood, I do NOT know the outcome…be warned. The lights have a little mark every couple of inches where you can cut them with a pair of scissors. You can cut to any length, just do it on the marks! Apply the lights to the location you choose. Note: I DO NOT use these outside, only inside where dry.
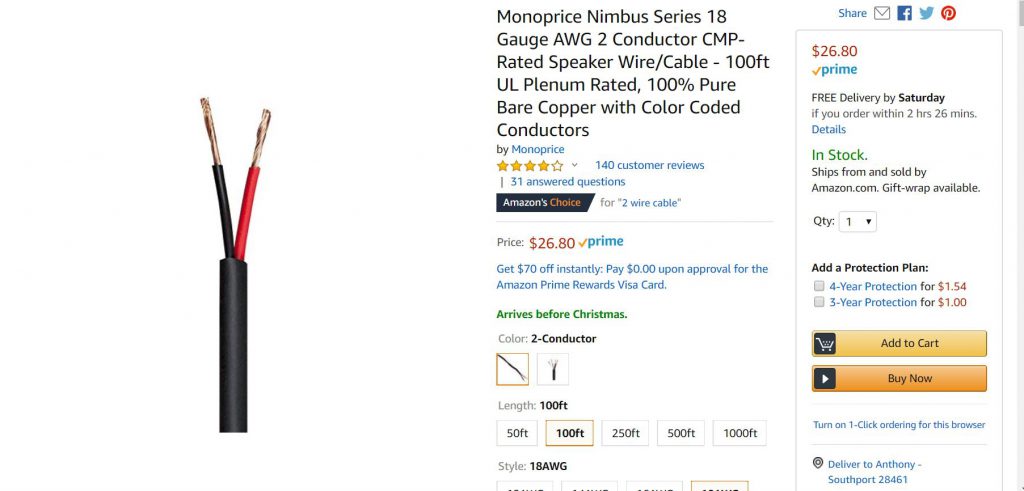
Step-2: Electrical: These lights need a 12v supply and draw about 2amps for a full length, full brightness strand. We seldom use the full brightness so our consumption is some where closer 1.25 amps. I encourage you to fuse each strand at the supply with an inline fuse. My runs are not very long so I use the 18 gauge wire. Any run longer than 10 ft should should probably upsize to 16 or even 14 gauge.
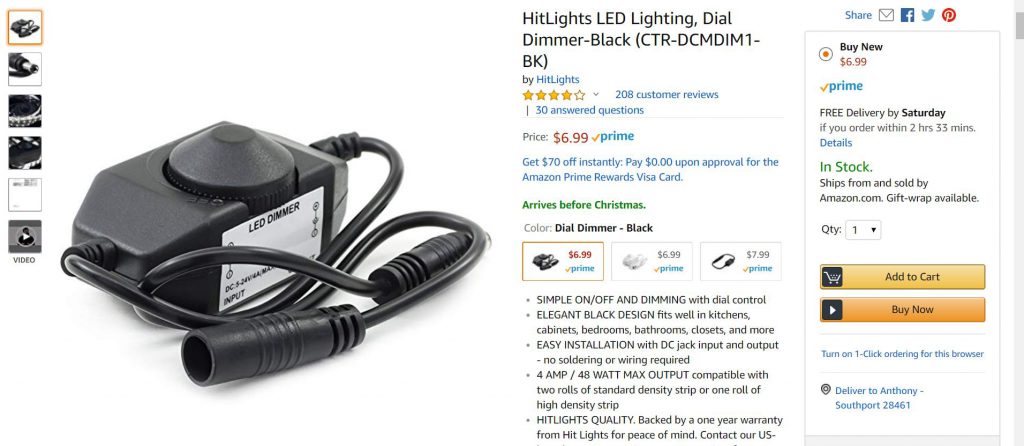
Step-3: Connections: Using the CCTV connectors connect the wiring and insert the dimmer controls at the desired locations. When you connect the wire to the connectors, pay attention to the “+” and “-” on the CCTV connectors. The LED Lights are polarity sensitive and must be honored. If your installation requires you to go around a corner just cut the light strip where marked and and snap in one of the 90 degree connectors.
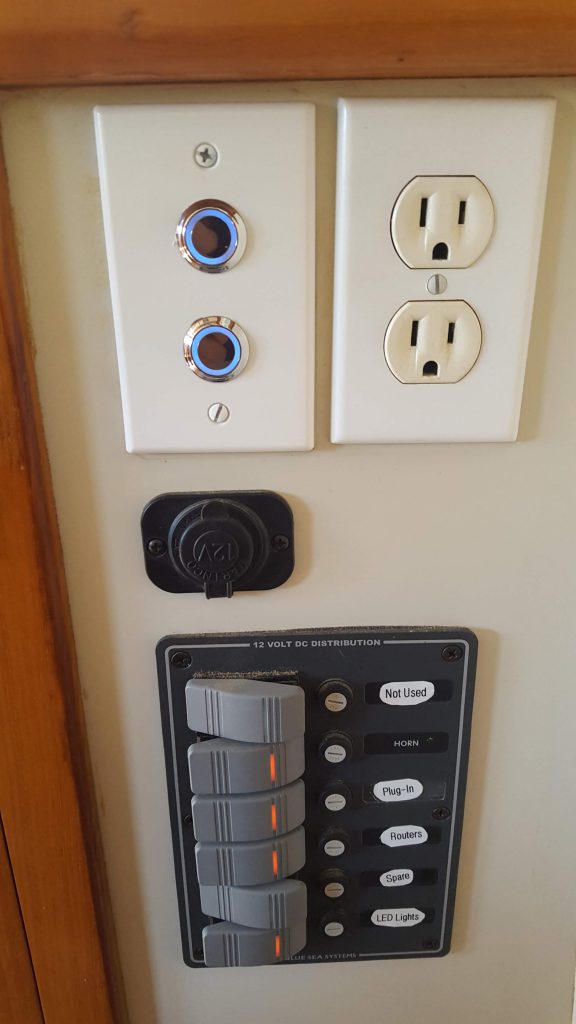
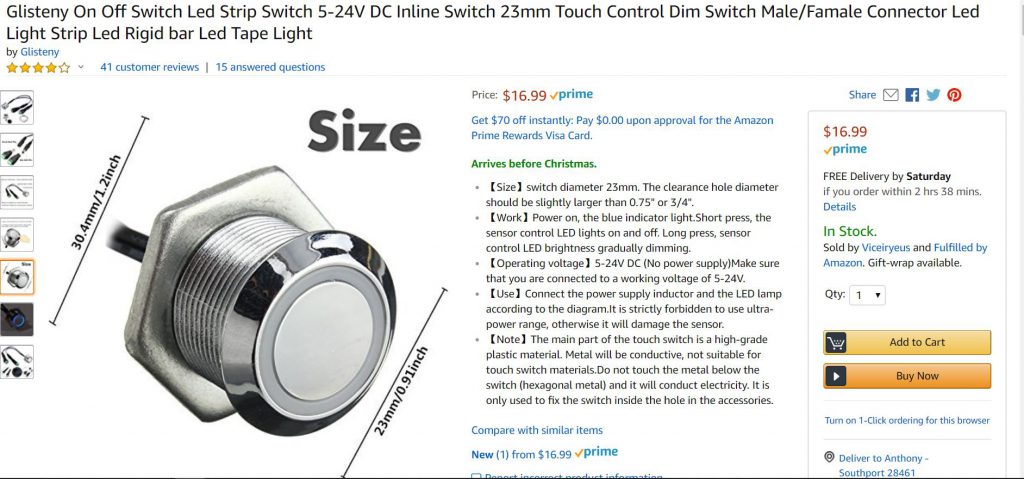
After the initial Pilothouse installation I came across a different kind of dimmer switch AND an unused outlet box. Poof the installation was complete. Very happy with this modification! The switch is also available from Amazon.
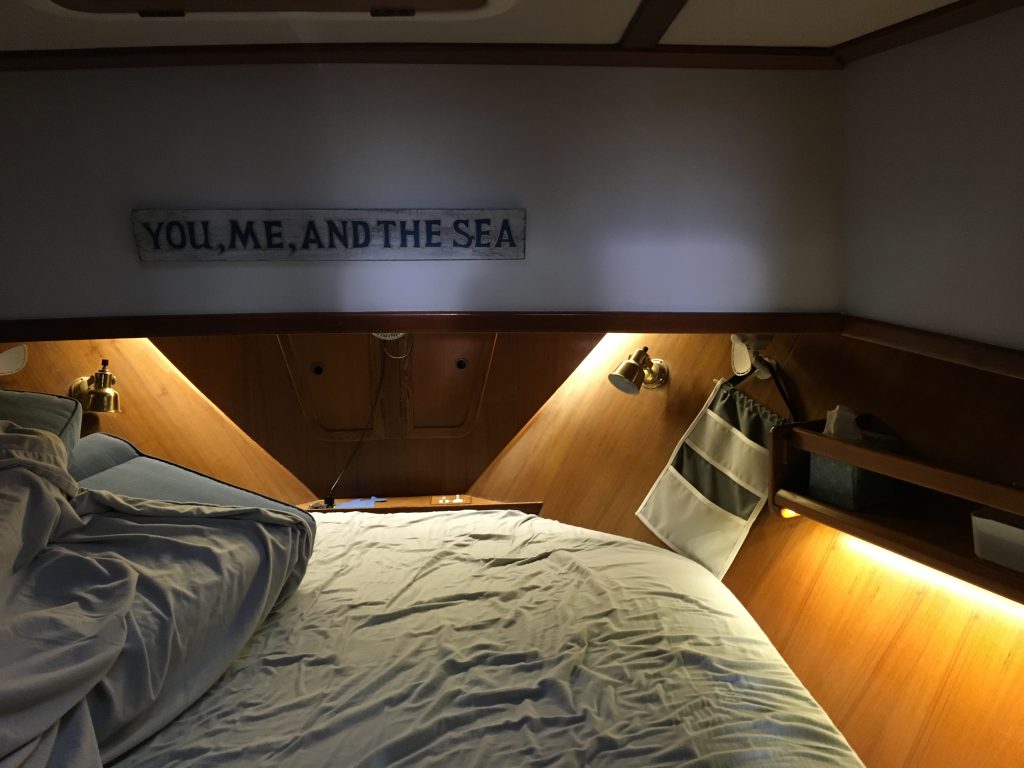
Whats next? Well I have not done an installation in the stateroom or in the berthing compartment. Those are on the horizon. A far as upping the control system…I am looking at potentially adding voice control through a Alexa type of device but that is still in the research stage.
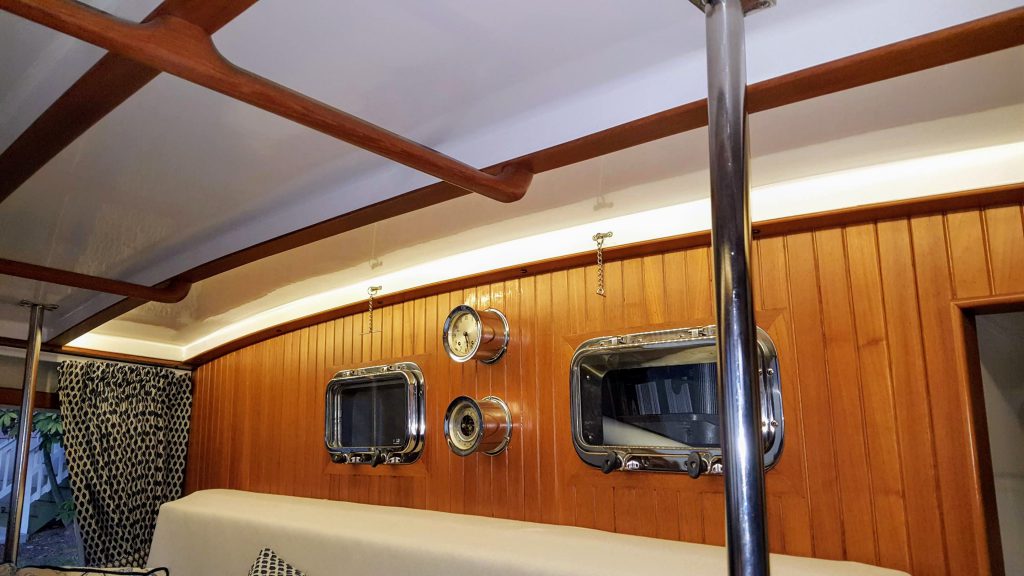
Kindred Spirit is mothballed for the winter but Captain Al sent me some of interior pictures for some additional ideas.