The electrical system was certainly designed by an engineer..perhaps one who took one too many arcs across the gray matter. God only knows, and I do mean he is the only one who knows why the configuration was so complicated . The table at the bottom chart below only begins to explain what happens in each switch position. I will only rant one more time, its NUTS!!! (I am done now)
As with Magnolia-S, all these systems are complicated already. Their configuration needs to be simple and easily understood. Things never break on these vessels when you are tied to the dock or on a quiet Sunday afternoon while you are hanging on the hook. Things go bad when a thunderstorm is approaching, when you are trying to get into a challenging inlet and the weather forecast is completely a work of fiction During these times when stress is high the last thing you we need is to try and figure out configurations in the midst of troubleshooting a problem.
With that in mind, I am working with a licensed marine electrician to implement the configuration below. I basically replicated what I did on Magnolia –S. Note there no switches in the below diagram. The configuration is what it is. You will see there is a fuse on the output of all power sources, but NO switches.
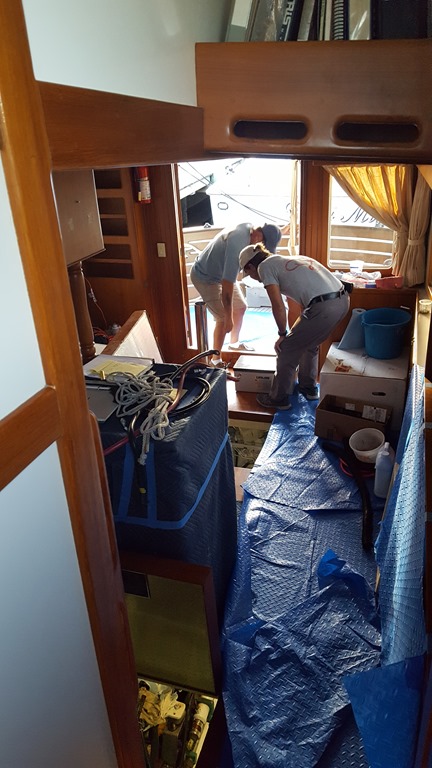
When we we purchased Magnolia-S she had no LED lights. All lighting was energy sucking incandescent lights. The refrigerator/freezer was a 20 year old SubZero. Between replacing light bulbs and an energy efficient refrigerator/freezer we are reducing the battery bank by one Lifeline 8D. An 8D battery has a capacity of 255 ahr and weighs in at a whopping 156lbs. Getting one of those batteries off the boat is not a completely simple task. Once we got it out of the battery box in the engine room and up to the salon, out the salon door and on to the fantail.
We then slid it across a board to shore. All before 7AM!!! ![]()
Out work list below:
1) Remove & replace inverter input fuse with JJN fast acting fuse as per inverter manufacturer recommendation.
2) Check battery charger with load tester for full rated output.
3) Check hull potential and proper operation of Galvanic lsolators (two) when boat moves to saltwater.
4) Reconnect inverter input transformer and run new ground cable to ground buss. (Rather than bonding buss as currently installed) * Identify connection taps for owner and make note on drawing.
5) Remove battery desulfator from engine/generator battery.
6) Re-crimp negative connections in navigation panel (on helm). Install fuse holder for starboard side 12V panel.
7) Re-secure forward shore power breaker box. (Anthony will do)
8) Install 120V fuse holders for 120/240V meters and 12V meters in main distribution panel and cap off and secure or remove unused 14/3 cable in main panel.
9) Re-label ship shore selector switch to read Aft shore, Forward shore, Off, Generator.
10) Recrimp battery terminal ends.
Anthony Adds
11) Install Xantrex LinkPro Battery Monitor (in hand)
12) Install Xantrex Battery->Battery Charger — House to Engine Start Battery (in hand)
13) Replace/Connect two start batteries instead of existing shared 8D battery
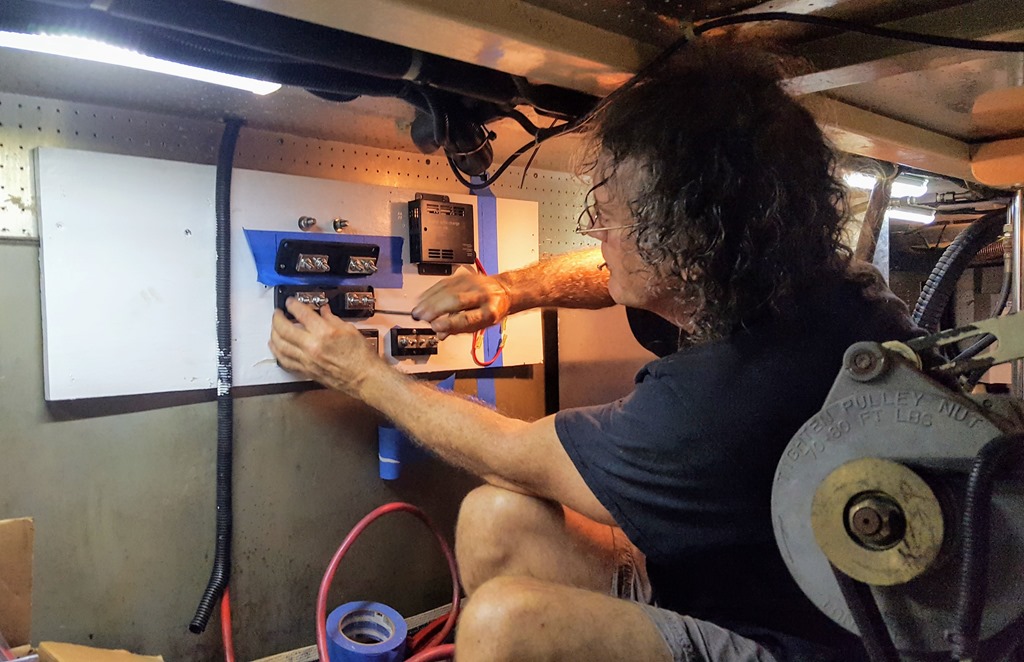
We had a very productive week! In addition to the above we got a number of other items sorted out. Our refrigerator/freezer is dual voltage, 12vdc/120vac depending on what is available. Normally 12vdc when we are away from the dock and and 120vac at the dock. We have that all installed plus much more. Below our electrician is mounting some new and appropriate fuse blocks.
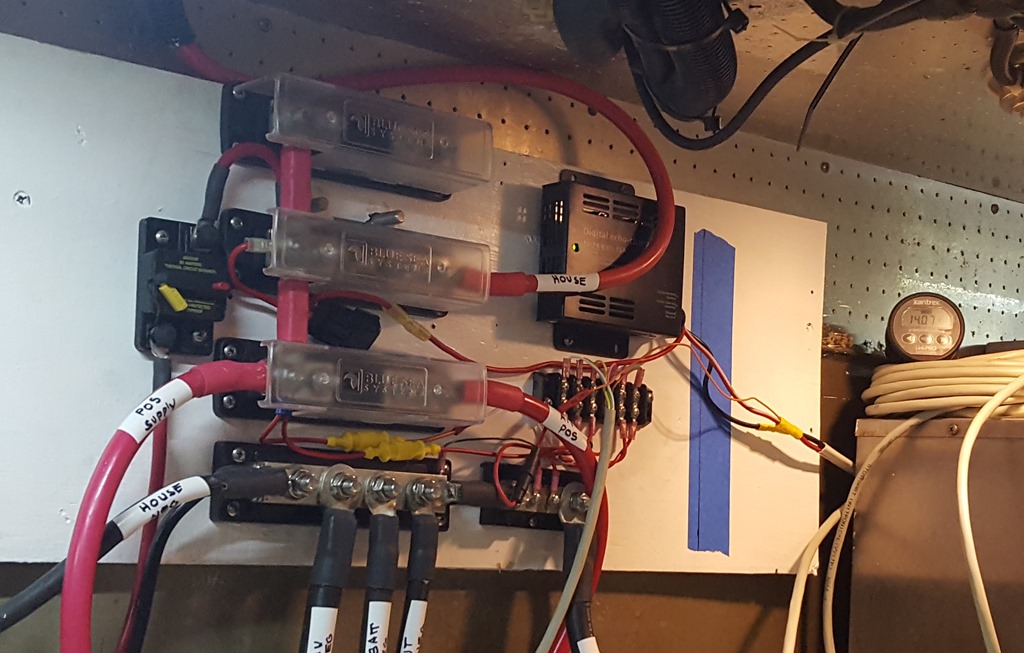
Below is the finished wiring MINUS the clean up and dressing of the installation. (Flying to Detroit in the morning and ran out of time).
I am very happy with the way things came out. The system is so much simpler and we hope more reliable than where we started. It was a good week and now for an even better weekend in Detroit!


Oh, my! Makes me dread getting a trawler! Can’t believe all the work you are doing, much less that you know how!!! I’m very impressed!
I just bring the ideas…we are lucky to have the support of experts.
Outstanding post, and even more impressive electrical design!!! You are The Man!!!
Looks like a fun project – wish I were there
Me too!