Long time readers of this blog know I have tried to document things we do or have done on and to Magnolia. Some things I miss documenting but if I get a question or two I try and get things written down.
While we were doing the refit on Magnolia in the summer/fall of 2017 we found the hoist that was installed was not serviceable. Notice the wooden frame on the aluminum mast…not to mention the metal wire rope it had on it. I wish I had a better picture but at least it and all its badness is GONE!
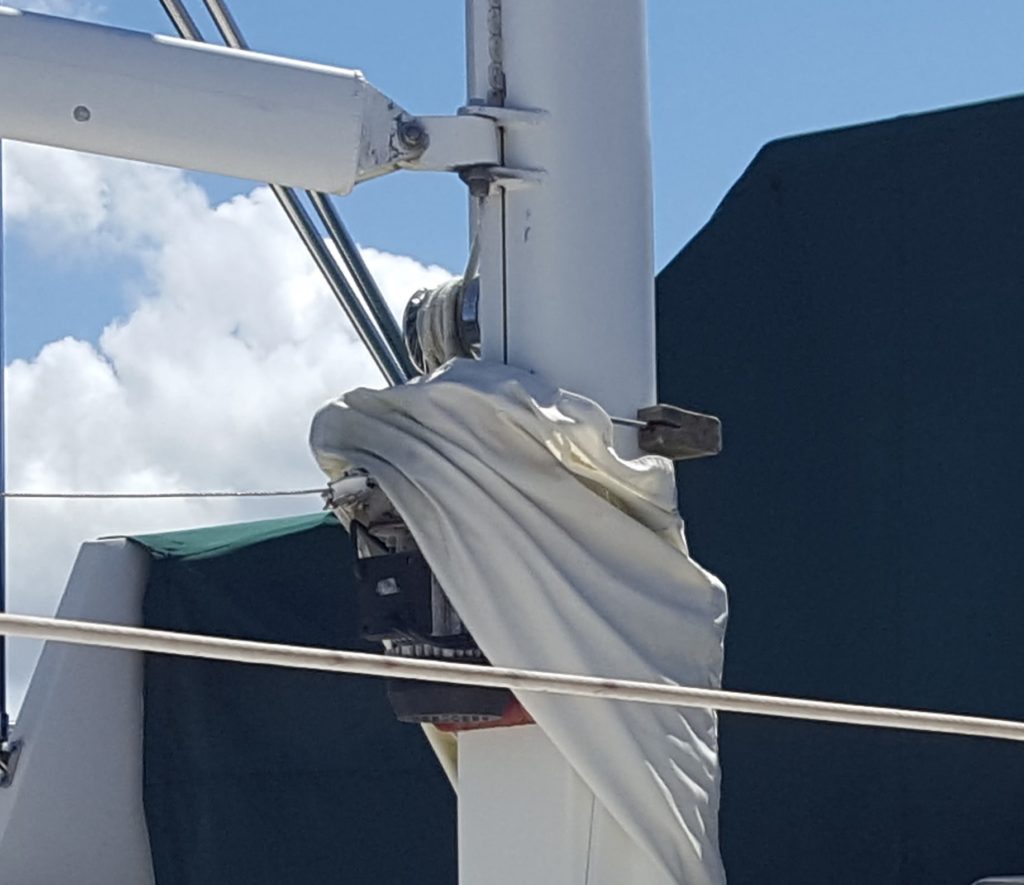
Our friends on MV Lali, a KK-42 of similar vintage had re-done their hoist and I did exactly what they did so I this is most certainly NOT my idea or information!
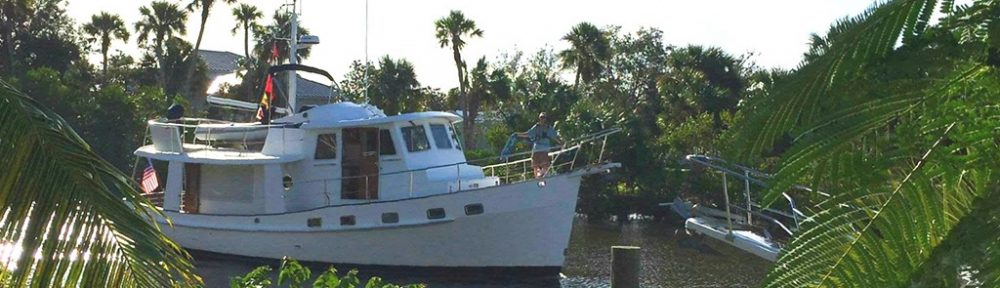
The ease of launching the dink is one of the things I miss about the sailboat, it was so easy, convenient and safe! The dinghy launching on the trawler is a bit more of a deal. Having the davits up so far above the water really really adds to the danger and the necessity for safe handling equipment…hence how we got here.
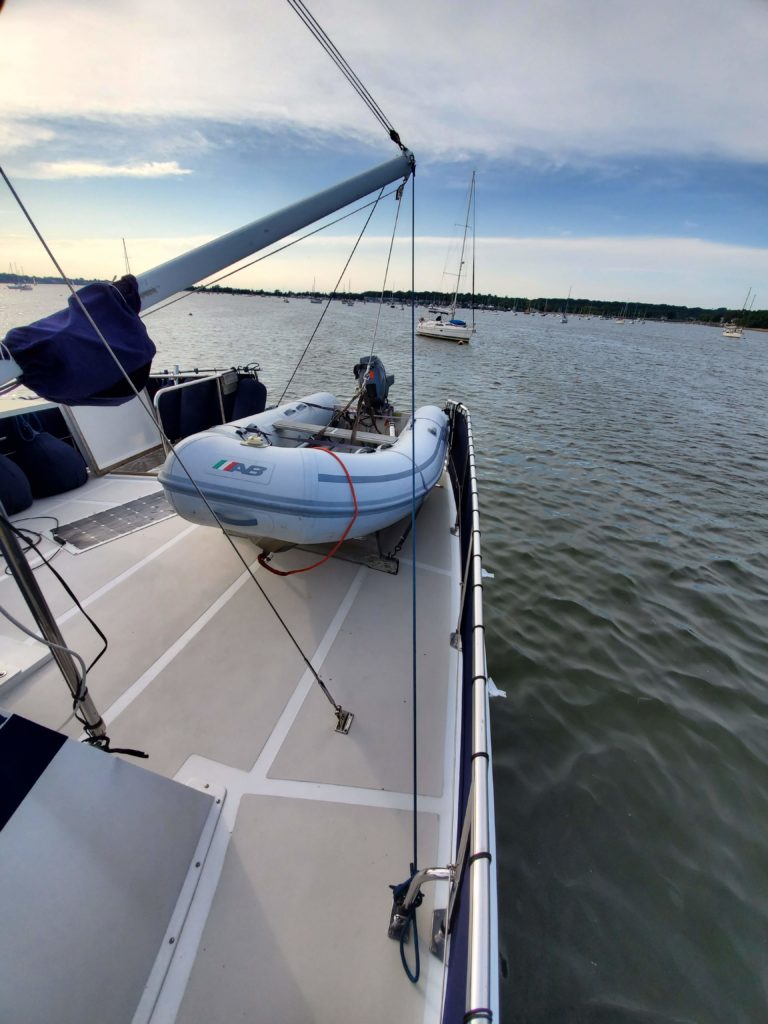
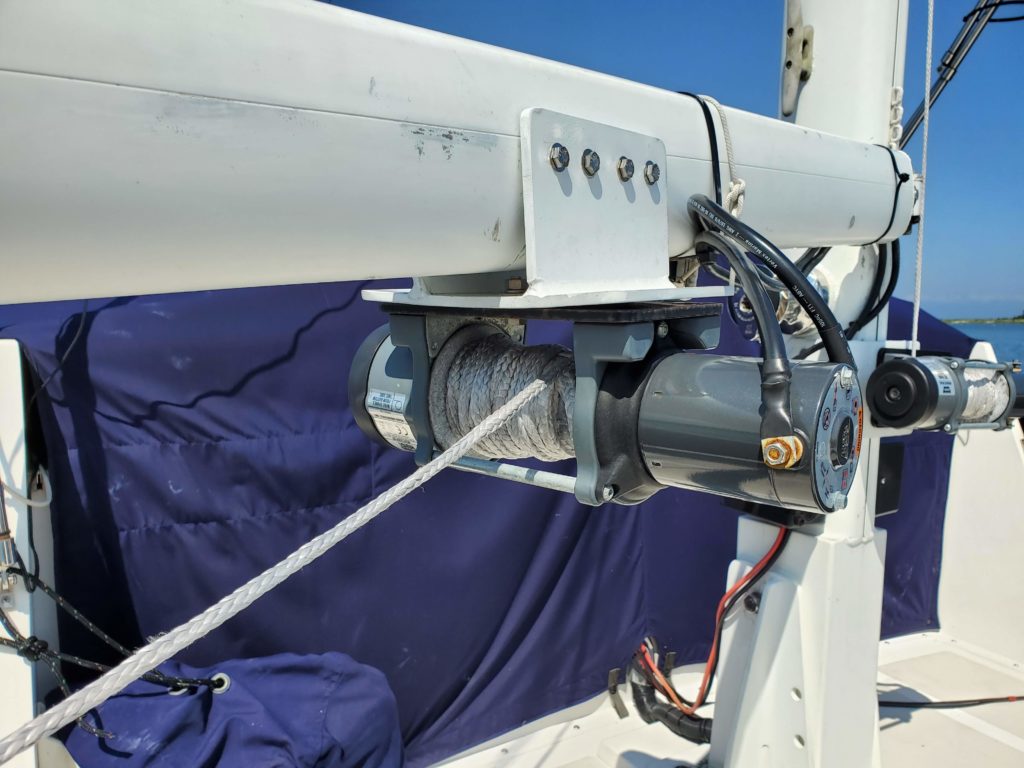
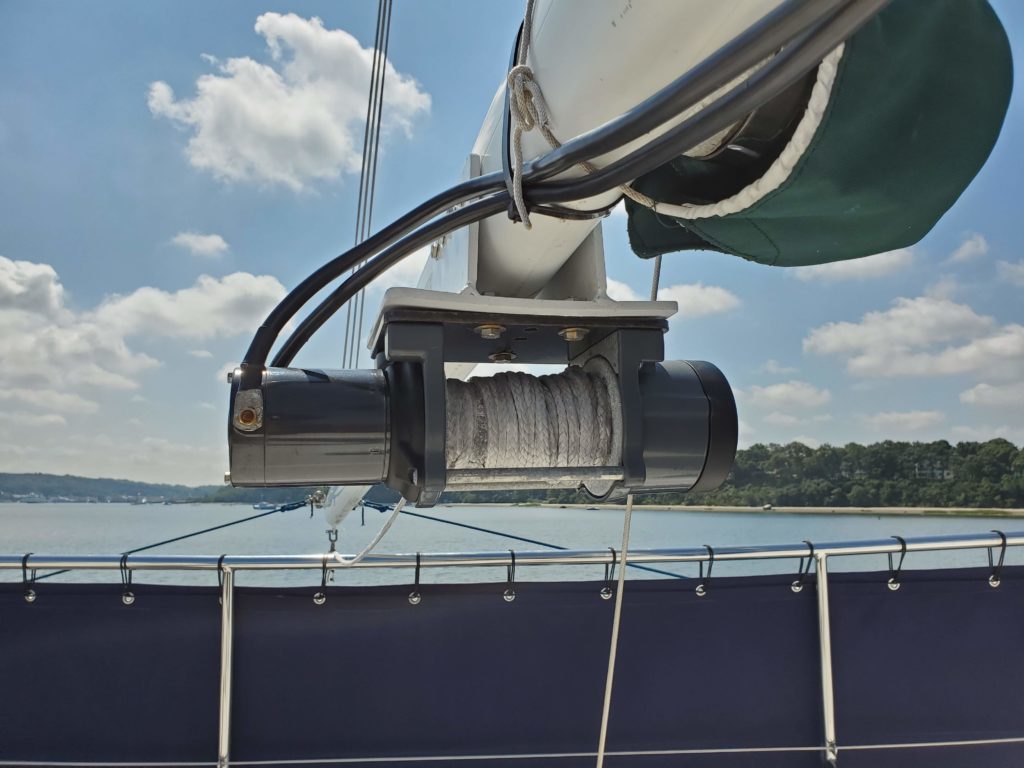
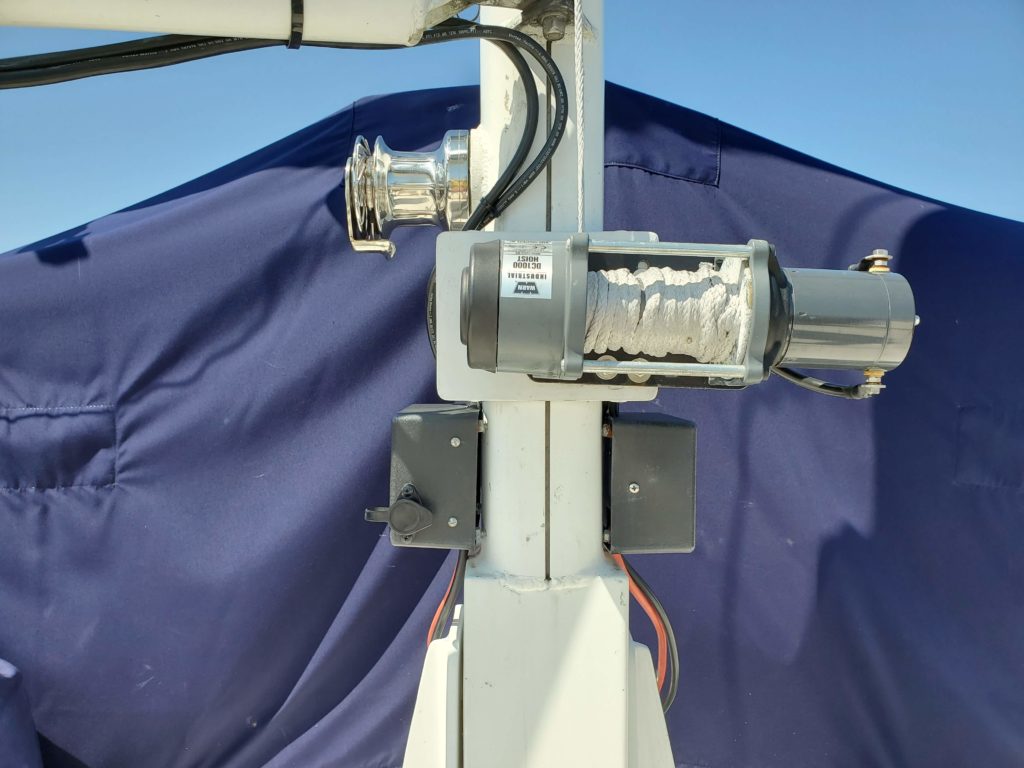
The hoist system is made up a hoist motor mounted on the boom which actually raises the dinghy.
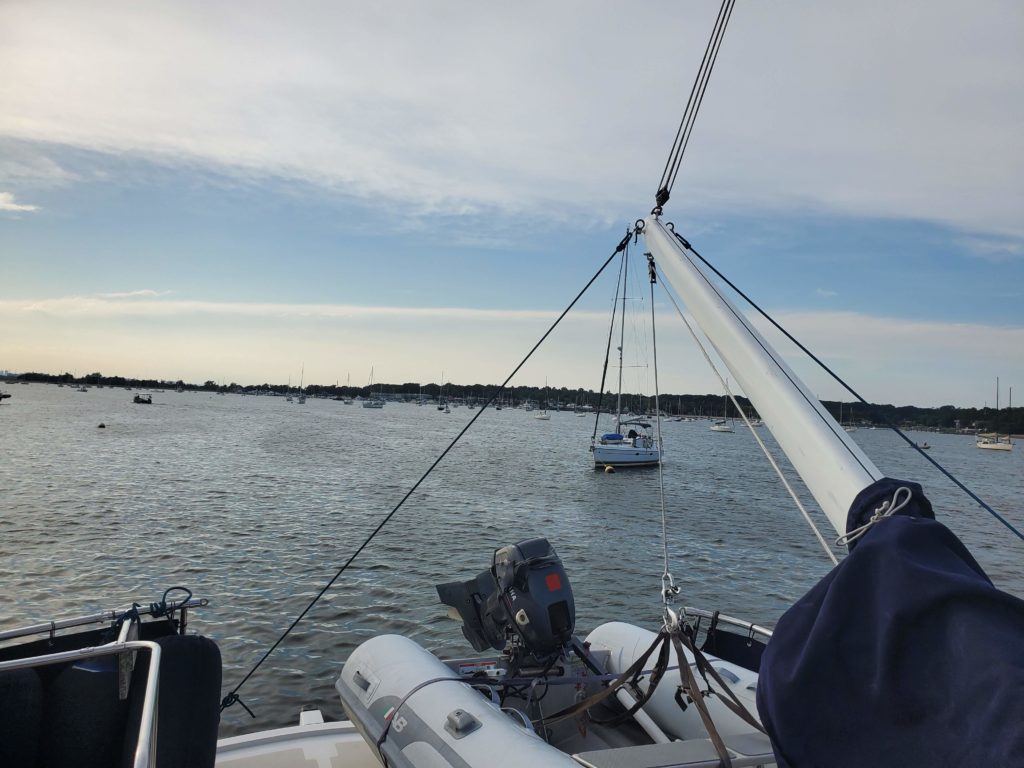
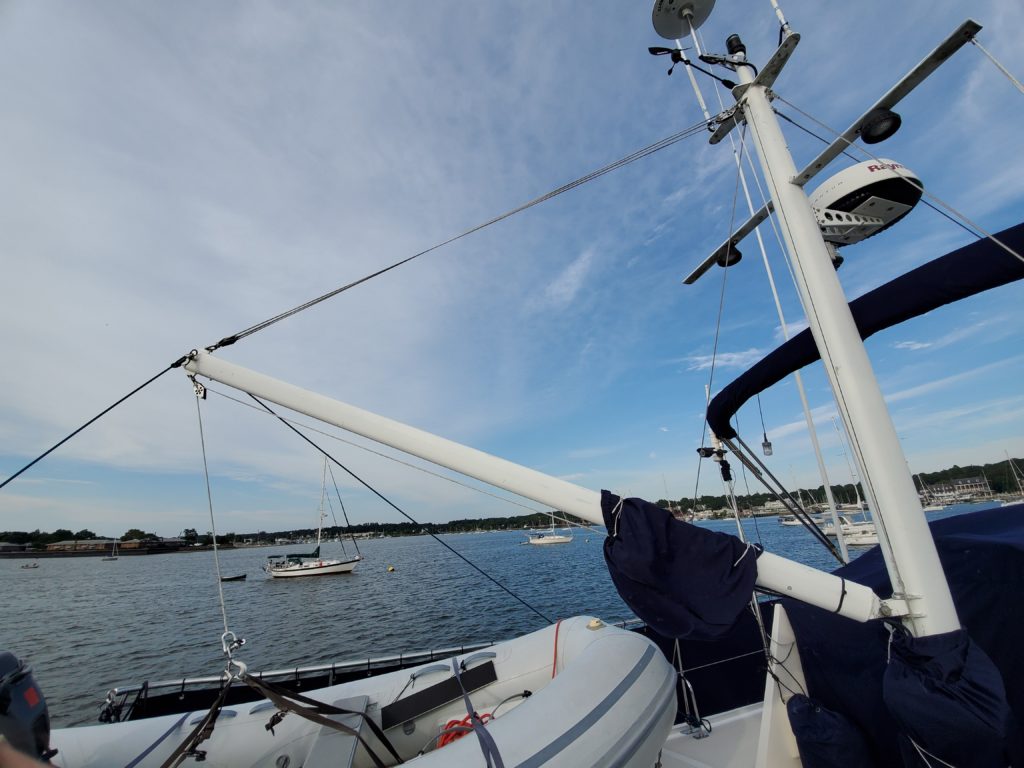
A second hoist motor is used to raise and lower the boom. Raising and lowering the boom extends the dink over the side of Magnolia.
The first step was to have a bracket fabricated to mount the hoist motor on the boom . We utilized High Seas Fabrication, 151 NW Flagler Ave, Stuart, FL 34994, (772) 692-0000. They fabricated the bracket out of aluminum and I painted it.
There was a metal bracket on the lower part of the mast that I was able to re-use so we only needed to have the boom mount fabricated.
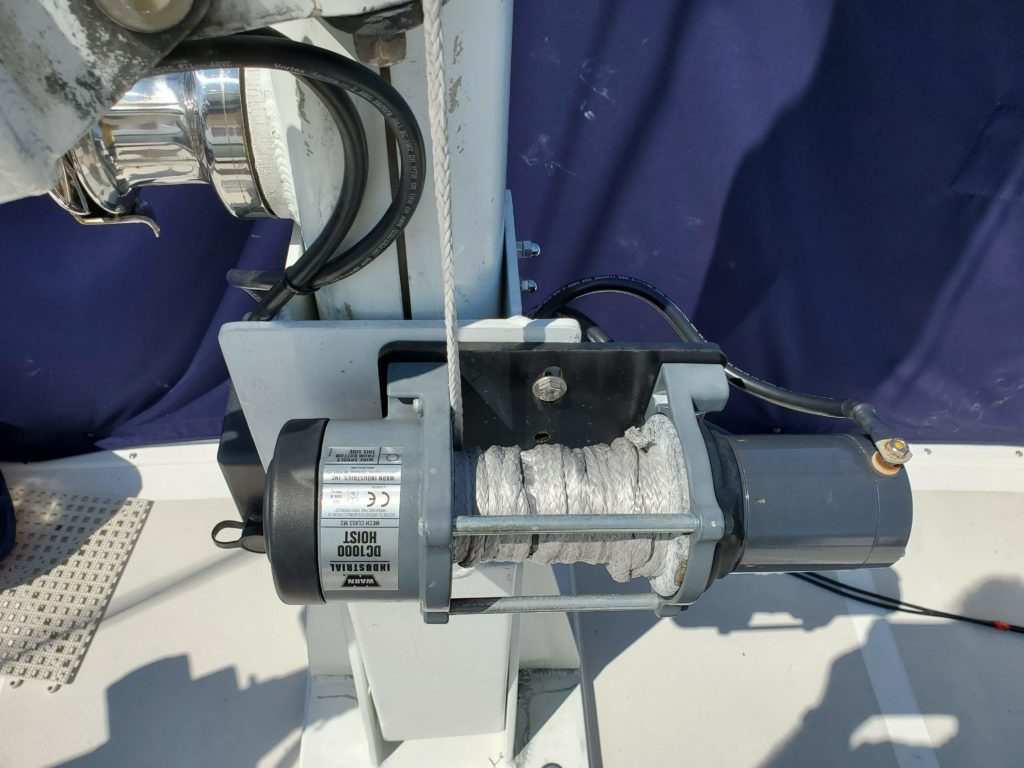
As far as the hoists motors themselves we utilize Warn DC1000 hoist motors. There are two, one for the boom and one for the mast. The part numbers for the hoists, control packs and remote controls are below and should cost about $1800.00
DC1000 Industrial Hoist 82469
Control Pack 278041
Remote 25110
“Jerry” is the contact at Ivy R Redding Co Inc I spoke with.
Address: 168 Redding Rd, Calhoun, LA 71225
Phone: (318) 644-2883 ( http://www.reddingco.com/ )
Note to two control packs mounted just below the book hoist.
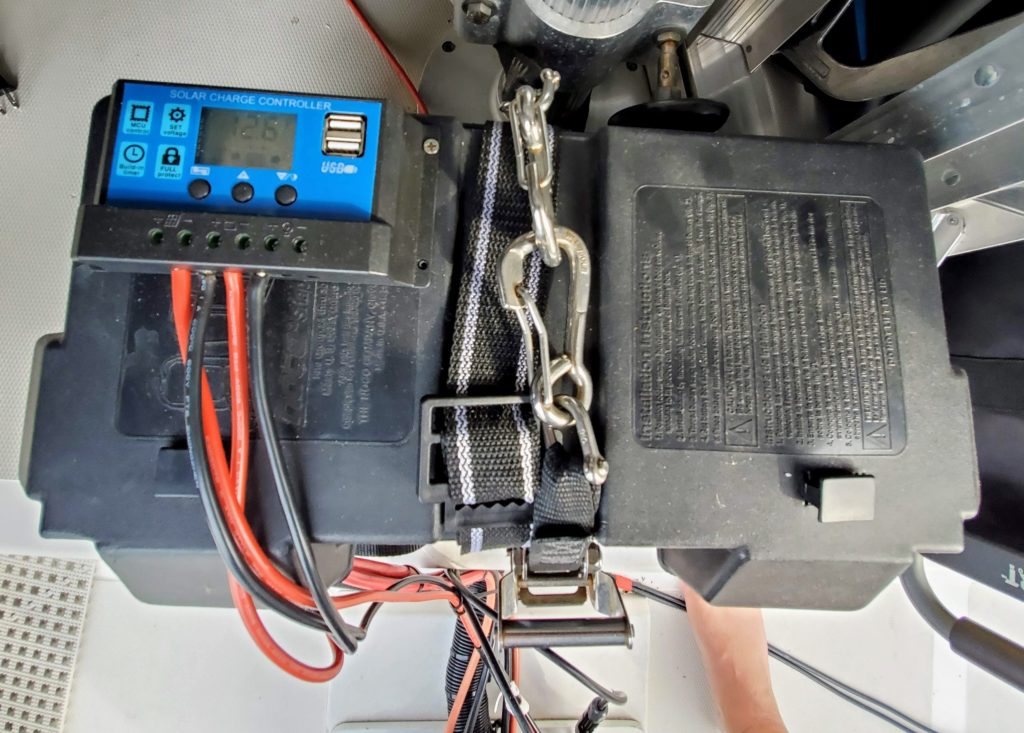
To power the hoists I chose to mount a seperate group 31 battery on the fly bridge which is charged with a small 100 watt solar panel and in-expensive solar controller. This is the same model battery as the ones used as start batteries for the main and generator engines. A little built in redundancy.
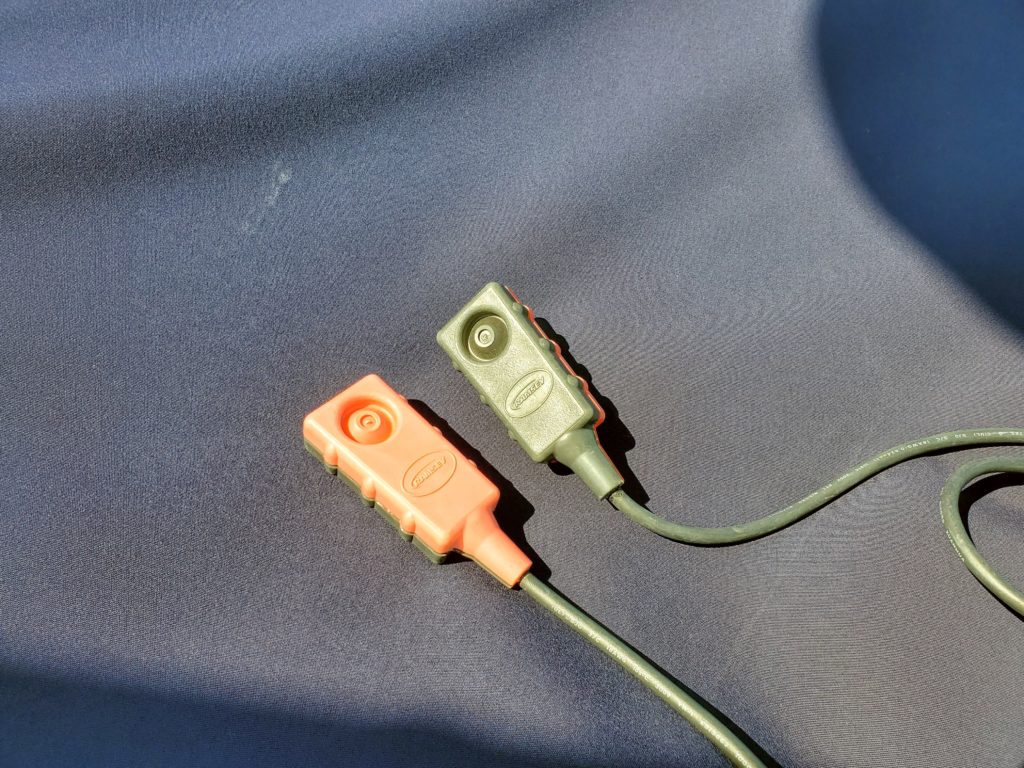
Remote controls, one each plugs into the hoist control pack
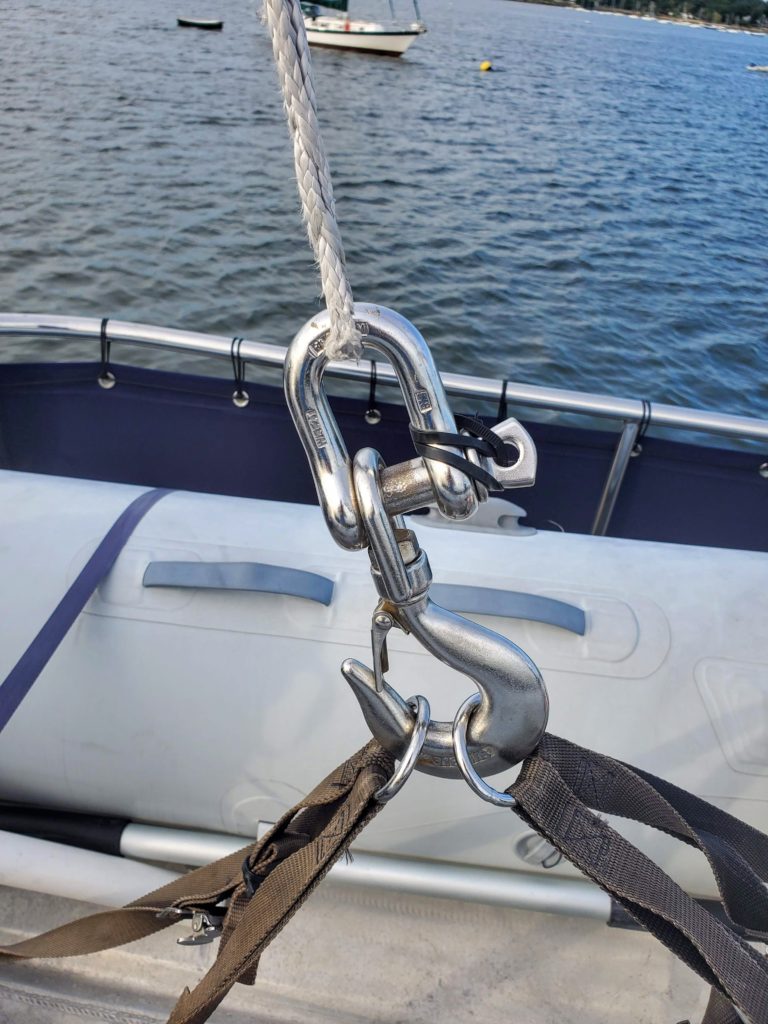
In addition to the equipment you also need some strong line and a heavy hook/weight at will keep a load on the line even when disconnected from the dinghy/tender.
I purchased Dyneema line from Defender. I used 1/4 inch, 90 feet for the boom and 50 for the hoist. Dyneema requires some specialized knots to create a splice so I also had Defender put a eye splice on the end. Rookie mistake I should have had them put a eye splice in each end so in case of chaff I could just swap end for end like you do with a rusty anchor chain!
Believe it or not the hardest thing was to find a hook/weight to connect to the end of the line. I finally came across a solution. Not the cheapest but the combination has worked flawlessly for us.
www.bosunsupplies.com
S0455-0150 Stainless Steel Swivel Eye Hook 6 $49.20 1 $49.20
S0115-FS16 5/8″ Stainless Steel Chain Shackle $33.49 1
This description is simply what we have done on Magnolia. Launching a dinghy from fly-bridge height in unsettled weather can be dangerous and why the quality of the equipment is so critical. I keep an extra set of lines aboard to replace the the moment chaff develops on the Dyneema. Also, go back to the very top picture in this post. That gooseneck fitting must bare a huge load, inspect the pins and fixtures often!