I have been getting some information requests about our solar system so I decided provide an update about our current system. I have been a long time proponent of solar energy on boats. The biggest reason is I hate noise and running the generator makes noise. We try and do that as little as possible. On SV Magnolia, a 1990 Nelson Merrick Morgan we ran the generator for 1 hour a day. We needed the the generator to make hot water and to make make fresh water using our water maker. In addition we did the initial “bulk charge” on our battery bank.
I really cut my teeth on the installation aboard Sailboat Magnolia. I learned a lot and really in the end very happy with the outcome. A review of that installation is documented here:
http://a2baker.com/magnoliablog/?p=3850
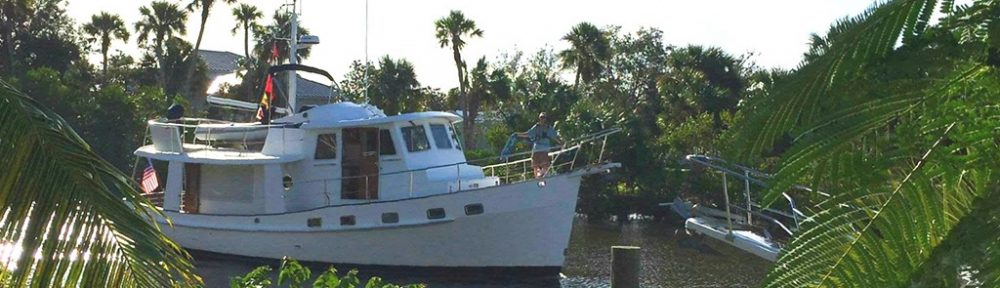
On MV Magnolia, a 1997 Kadey-Krogen 42, I basically recreated the installation as I did not the sailboat. The solar panels selected were different but the overall design is very similar. One thing I wanted was to minimize the visibility of the panels. That was partially the reason for the installation of the weather cloths along the fly deck rails. As you can see from the picture you can hardly see the installed Pilothouse Solar Panels.
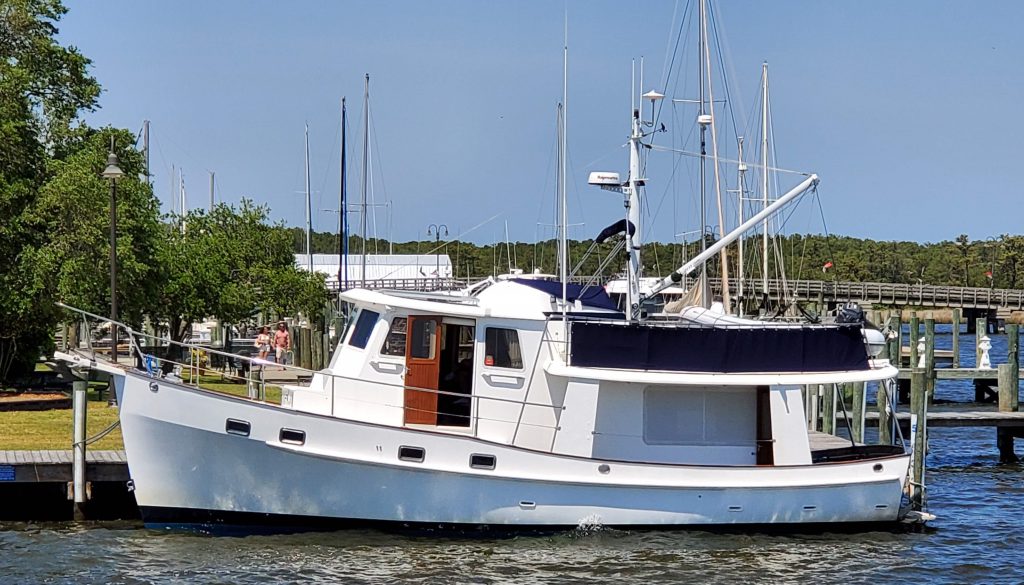
The second set of panels are located on fly-bridge level are mostly hidden as well.
The panels I selected were “200 +25% Watt 12 Volt Battery Charger Solar Panel Off Grid RV Boat ” which were purchased from via Ebay at:
https://www.ebay.com/itm/264077583855
https://www.ebay.com/itm/264077583855
https://www.ebay.com/itm/2-200-Watt-12-Volt-Battery-Charger-Solar-Panel-Off-Grid-RV-Boat/283348218673?hash=item41f8deb331:g:uHMAAOSwWz5b7gaM:sc:FedExHomeDelivery!34997!US!-1
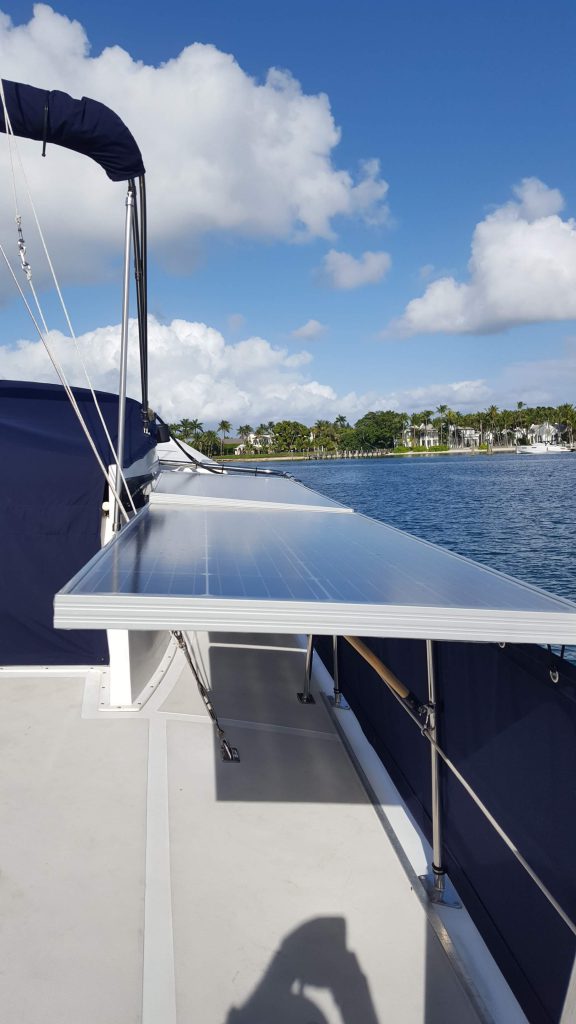
With a lot of time spent with a tape measure I was able to determine that we could comfortable accomodate 5 panels for a total of 1000 watts. Luckily the same panel comes in two physical shapes which worked out PERFECTLY. The initial installation was made on the cabin top of the Pilothouse. Note one of the panels needed to be be offset to maximize exposure. As can be seen above the second set of panels is located on the rail of the of the flybridge deck,
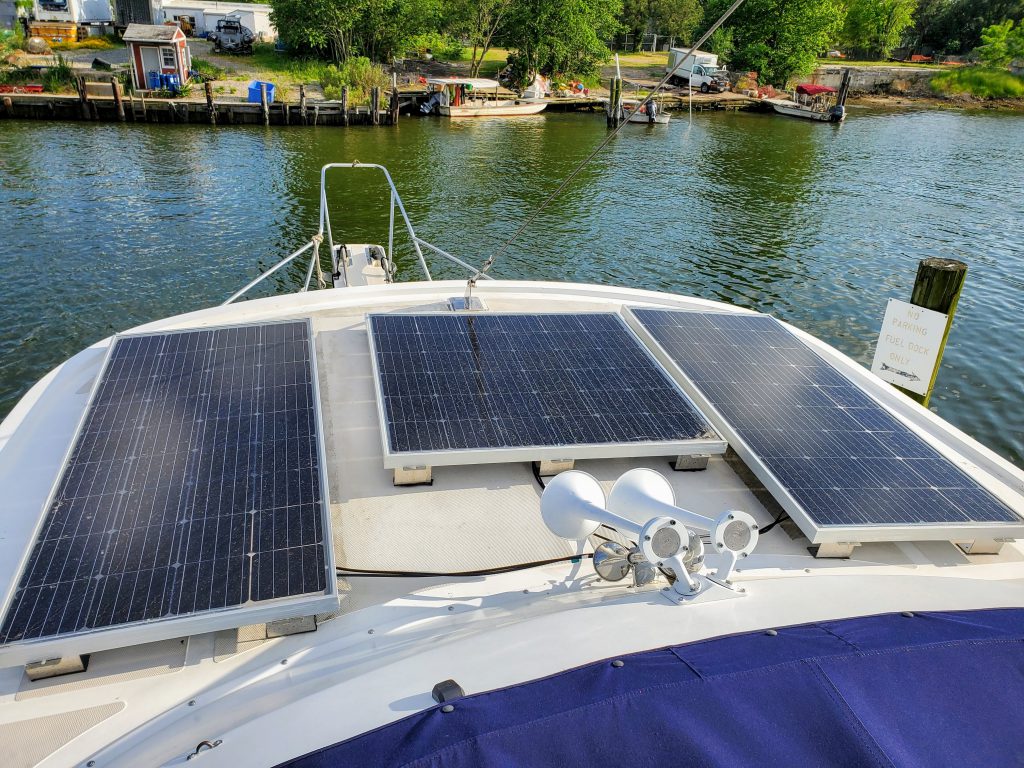
The pilothouse cabin top is canted slightly aft so I wanted the aft edge of the panels to be slightly higher in than the front edge To achieve this I was utilized two different mounts. On the front edge of the panels I used:
Solar Panel Mounting Z Bracket Mount Supporting for RV, Roof, Boat
https://www.amazon.com/gp/product/B07FY32KFJ/ref=ppx_yo_dt_b_search_asin_title?ie=UTF8&psc=1
On the aft edge I used a slightly taller Bracket: ” NEW TEMCo Solar Panel Mounting Z Bracket Stainless Steel Kit Mount Set Roof RV “
https://www.ebay.com/itm/282628729954
To secure the brackets to the cabin top I used 3M Scotch 5952 VHB Tape available at most hardware stores. This stuff is terrific and no hole drilling required!
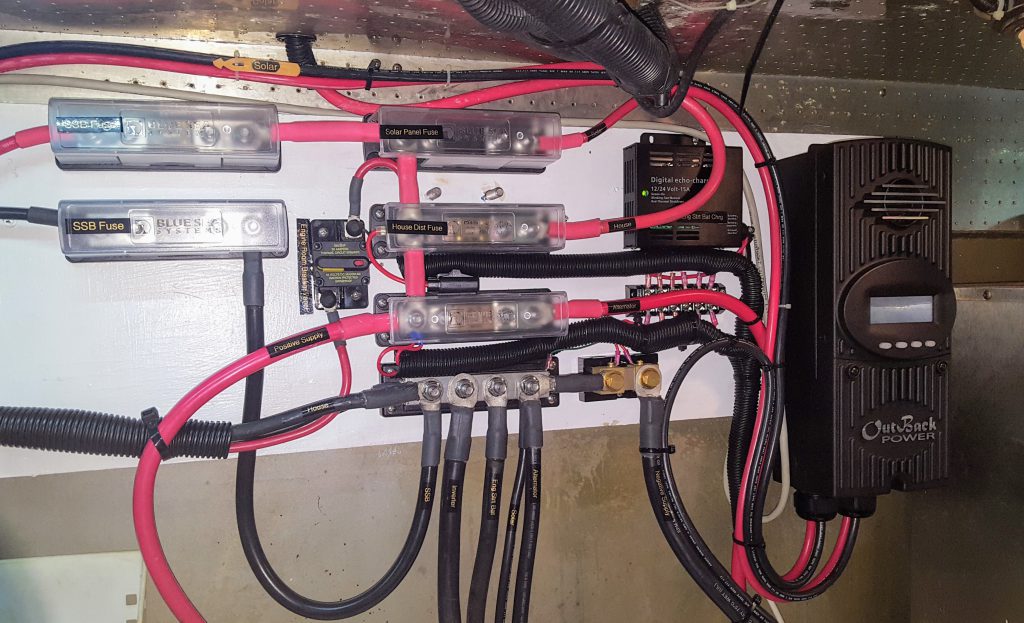
All of the panels are wired in parallel with the power being delivered to a OutBack Power FM60-150VDC FLEXMax 60 Charge Controller . The panels from are Ebay and not top of the line name brand. The Outback Controller though is the very top of the line controller.
https://www.amazon.com/gp/product/B00IVC7BYC/ref=ppx_od_dt_b_asin_title_s00?ie=UTF8&psc=1
The Outback in mounted in the engine room next to the rest of the 12 Volt DC distribution network. Note the output of the controller is fully fused.
Bottom line is we have been extremely happy with the current solar set-up.